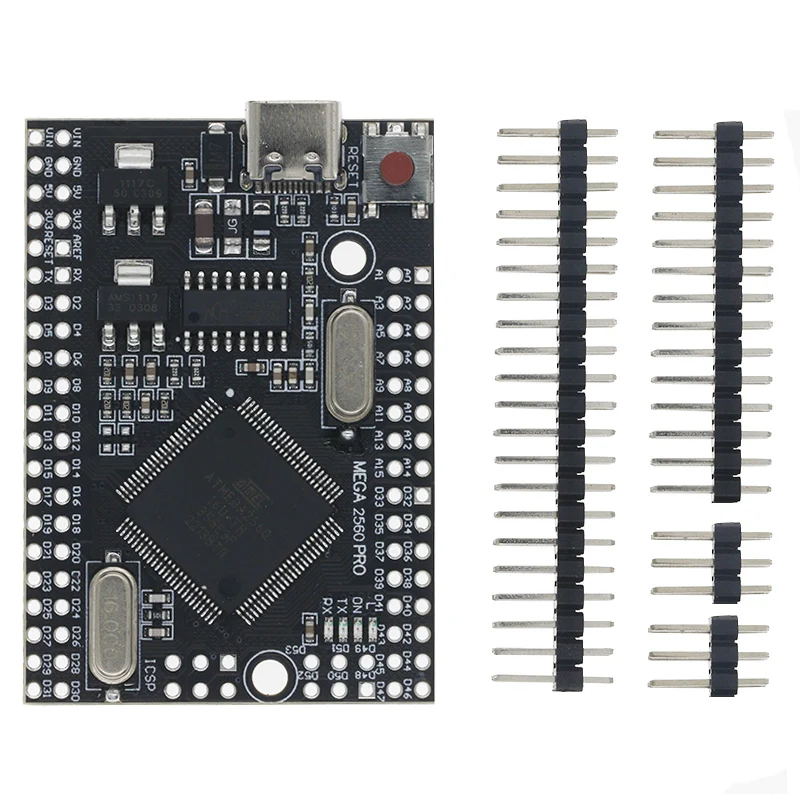
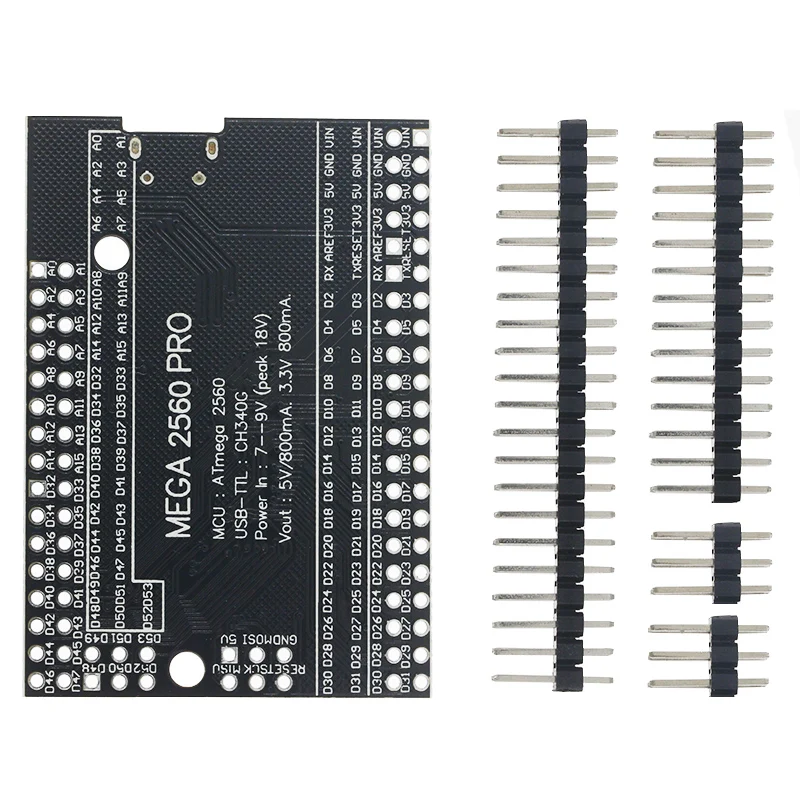
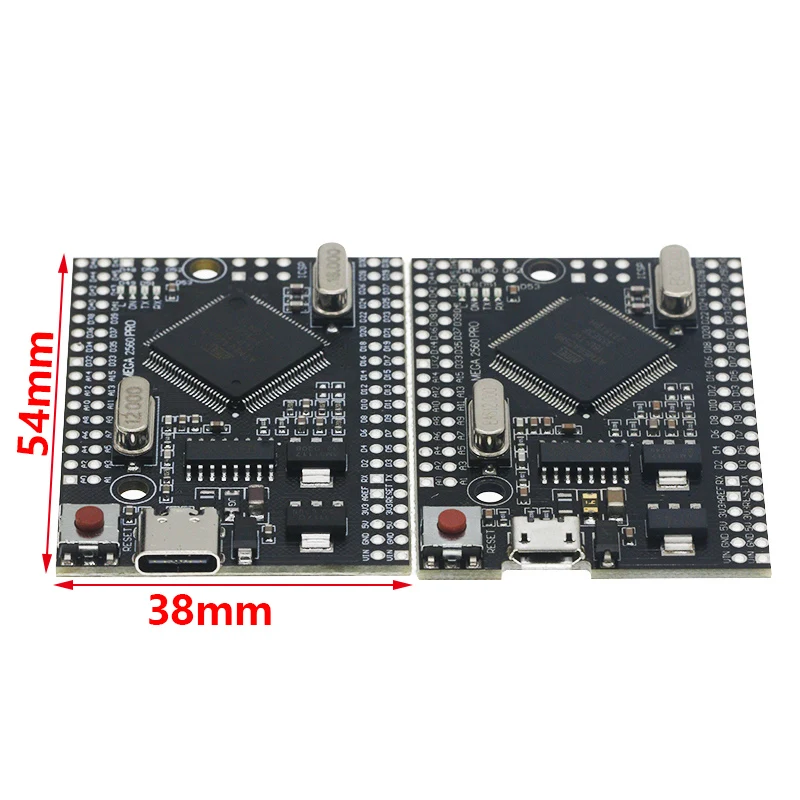
Mega 2560 PRO MINI 5V (Embed) CH340G ATmega2560-16AU with male pinheaders Compatible for arduino Mega 2560


Mega 2560 PRO MINI 5V (Embed) CH340G ATmega2560-16AU with male pinheaders Compatible for arduino Mega 2560
SPECIFICATIONS
Brand Name: NONE
High-concerned chemical: None
Origin: Mainland China
Introduction (1)
Product description:
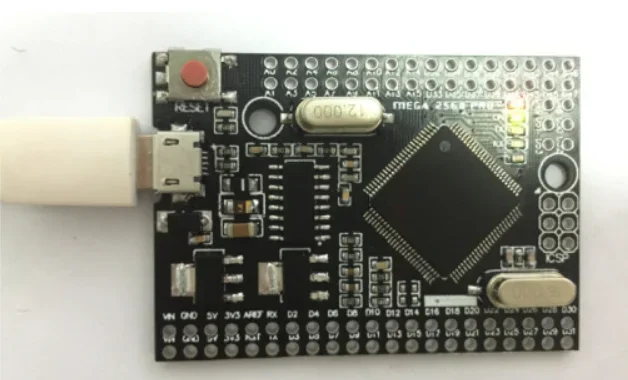
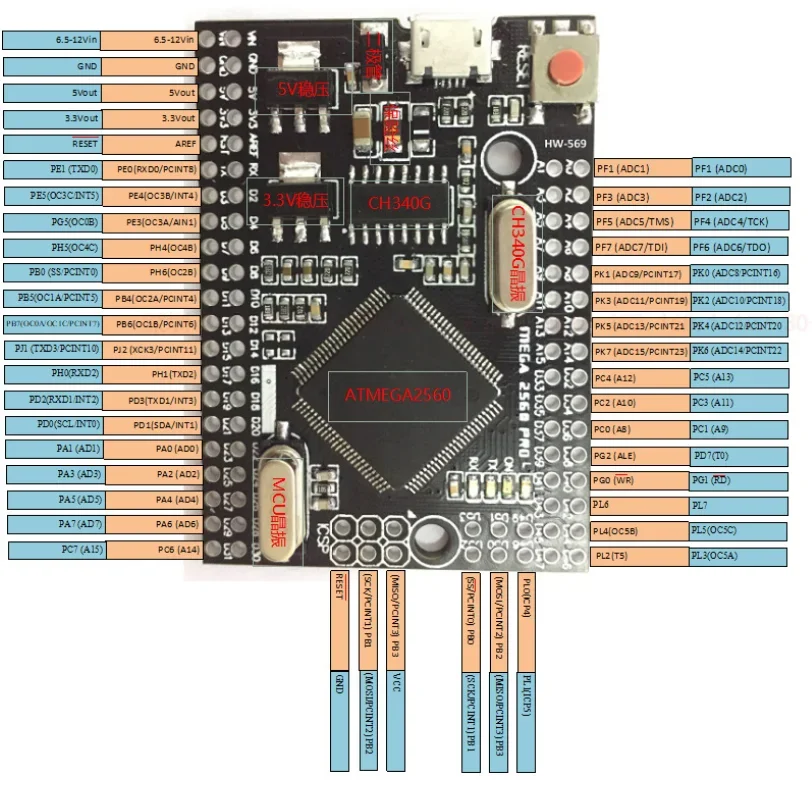
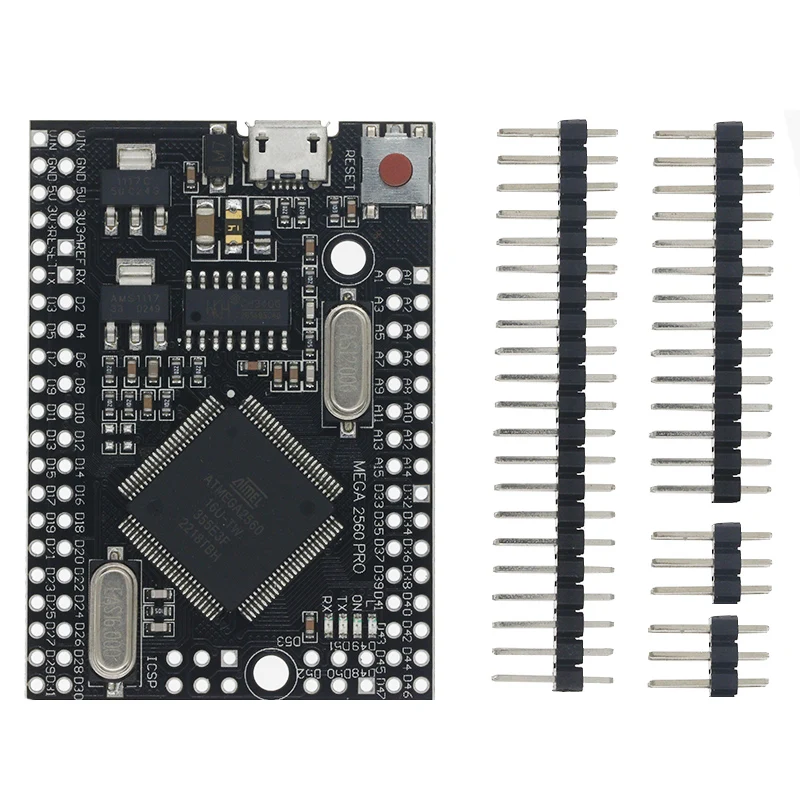
1. The core of this product is the high-performance, low-power, 8-bit microcontroller ATmega2560, which is the ATmega2560 development board. There are voltage regulator circuit, protection circuit, USB to TTL micro USB interface, reset button, status indicator and all functional pins of ATmega2560 on the periphery.
2. The product can be powered by USB and VIN pin. When USB power is supplied, a 500mA self-recovery fuse is required. Therefore, if the current exceeds 500mA, the circuit will be braked and disconnected and stop working. This is to prevent the short circuit from damaging the board. If the required current is greater than 500mA, it can be powered from the VIN port. The power supply range of the VIN port is 6.5-12V (peak 18V). The VIN port input is protected by a diode to prevent reverse connection. In general, the USB power supply is safe, and the VIN port power supply can stably output 5V, 3.3V voltage. USB to TTL uses CH340G serial port IC, the data transmission is very stable, and it is very convenient to download the program through the USB port. 4 LED indicators, you can discharge to observe the working status. The function pins of the microcontroller have been led out in the peripheral extension pins, which can be used arbitrarily. Among them, 6 pins are ICSP interfaces, which are specially provided for the programmer to provide the interface to the board programming program. The programming communication method is SPI Bus.
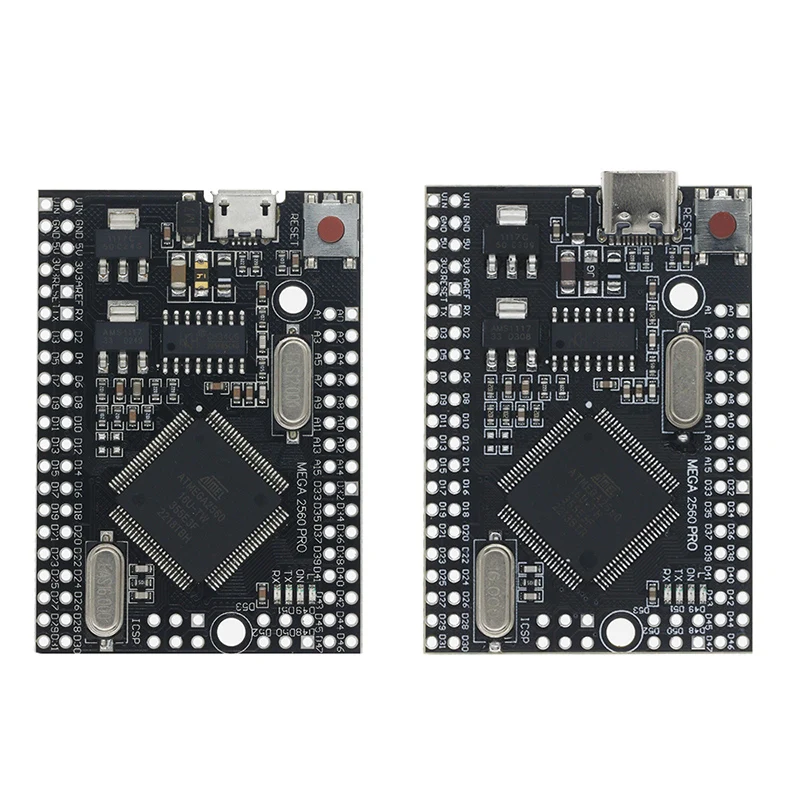
3. The product is basically the same as the Arduino Mega 2560 development board, but this version is more compact and easy to embed in other systems. So the usage method is the same as Arduino Mega 2560.
Introduction (two)
ATMEGA2560 parameters:
|
Name |
Value |
|
Program memory type |
Flash |
|
Program memory size |
256K Bytes |
|
CPU speed |
16 MIPS |
|
SRAM size |
8K Bytes |
|
Data memory (EEPROM) |
8K Bytes |
|
Communication port |
4-UART, 5-SPI, 1-I2C |
|
Capture/compare/PWM peripheral |
4 input capture, 4 CCP, 16PWM |
|
Timer |
2 8-bit + 4 16-bit |
|
Comparator |
1 piece |
|
Operating temperature range |
-40 to 85 |
|
Operating voltage range |
4.5-5.5V |
Introduction (3)
Instructions for use:
The following has been used in the Arduino development environment as an example to illustrate the use of the board. Of course, other development environments can also be used. Relatively speaking, the Arduino development environment has a complete development library, rich interface functions, and many routines, which are very convenient for development and use.
(1) First download and install the Arduino IDE, in the Arduino official
https://www.arduino.cc download. The installation method of this software is very simple, download the compressed package, unzip it and use it. There is no need to set up a complicated environment, the entire development environment only has this software, which is especially convenient for beginners.
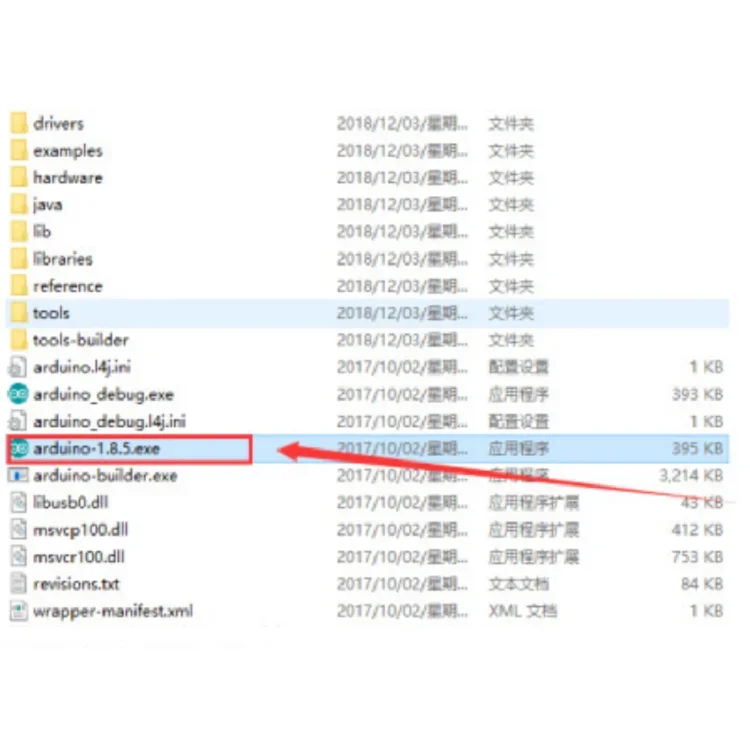
(2) After downloading the software and decompressing it, find the Arduino IDE executable file in the decompression package, and double-click to open it to open the software.
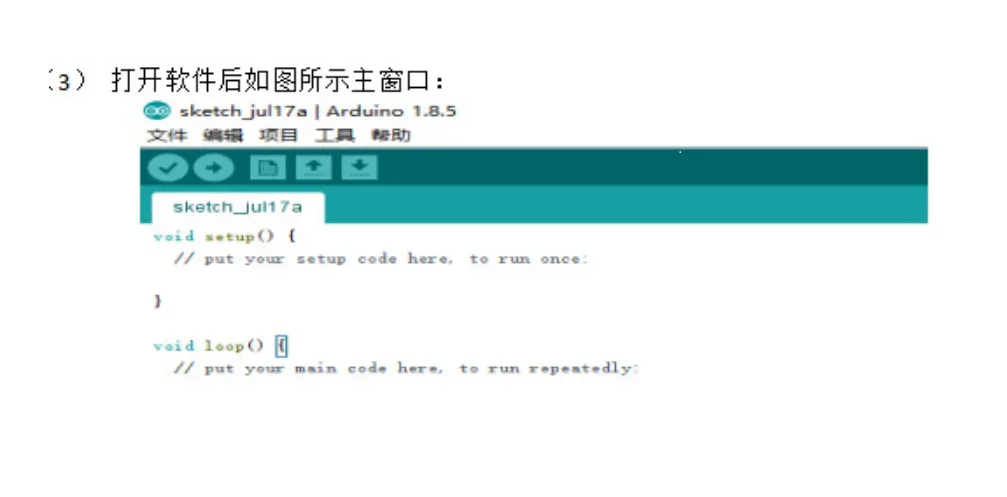
(3) After opening the software, the main window as shown in the figure
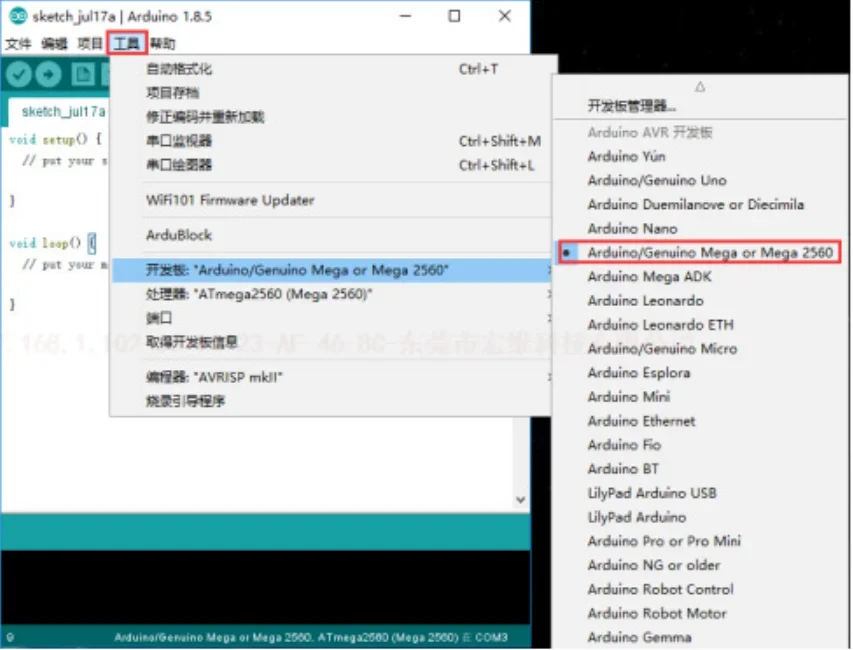
(4) Select the type of development board, path tool>development board>Arduino>Genuino Mega or Mega 2560
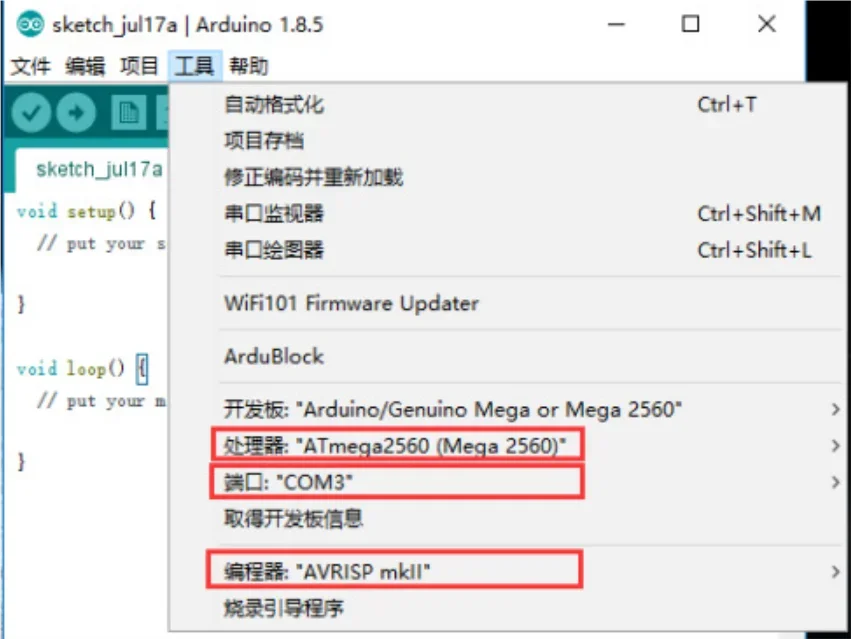
(5) Configure the development board environment, select the configuration according to the red box below, where the port is selected according to the port number of your development board on your computer, remember to connect your development board USB port to the computer before use
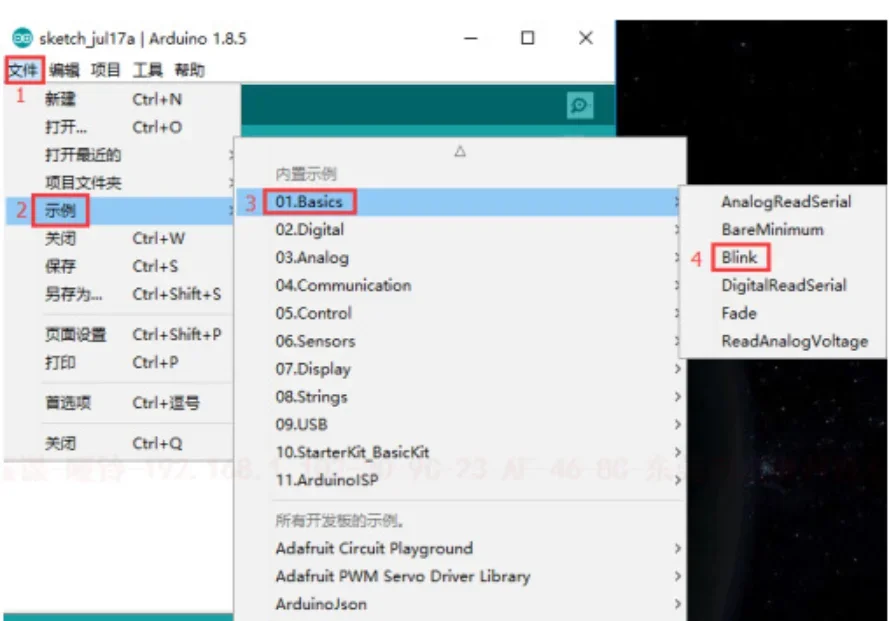
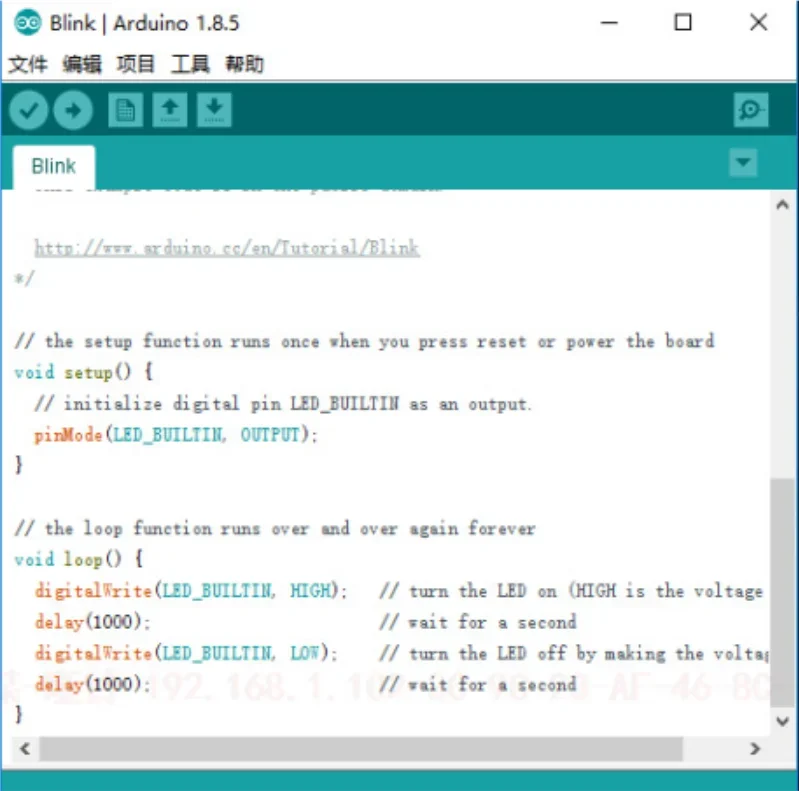
(6) Open the program, or write a program in the main window, open the sample program that comes with the software here. The path is as follows:
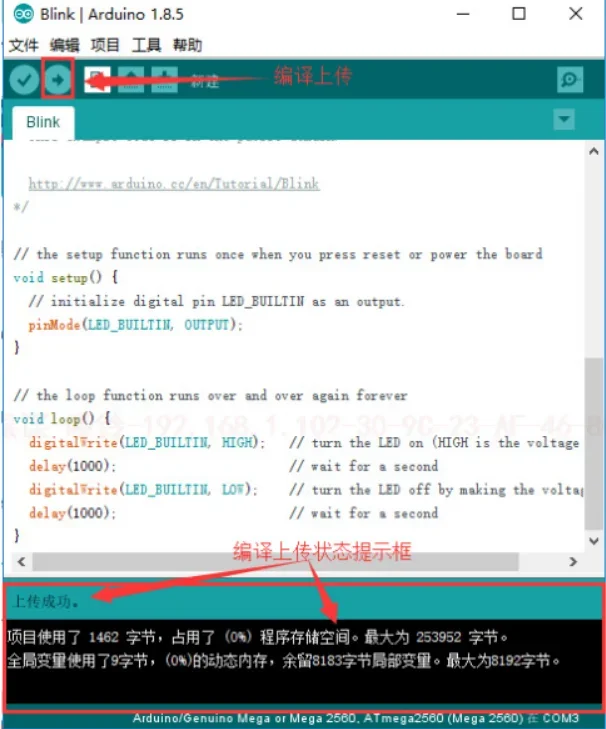
(7) Download the program to the development board, compile and upload, after the program is downloaded successfully, the status box will prompt
(8) After the program is downloaded to the development board, the development board runs according to the program. At this point, the general use process of the development board is like this, and more use methods need your own discovery.