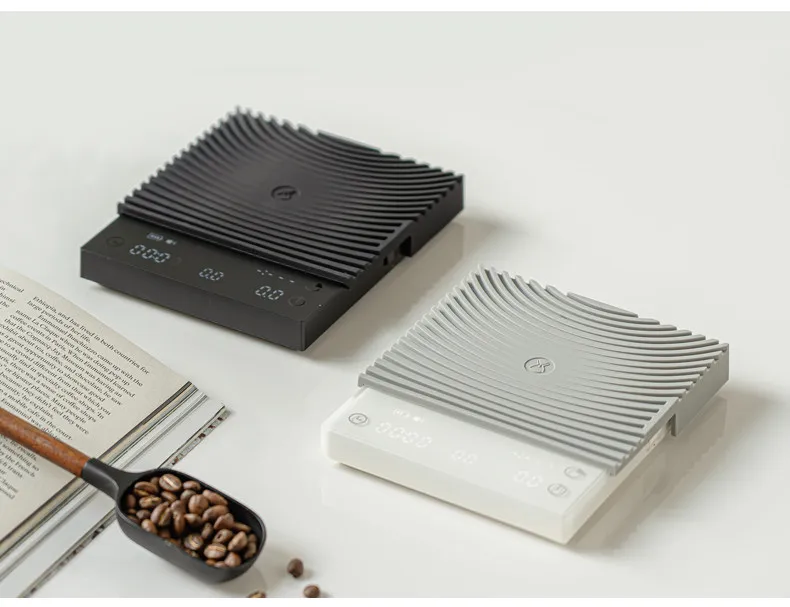
TIMEMORE Basic 3 Black Mirror Pour Over Coffee Scale Espresso Scale,Flow Rate, Auto Timer,Ratio, 3 Brewing Modes, 2kg Capacity


TIMEMORE Basic 3 Black Mirror Pour Over Coffee Scale Espresso Scale,Flow Rate, Auto Timer,Ratio, 3 Brewing Modes, 2kg Capacity
SPECIFICATIONS
Battery Included: Yes
Brand Name: TIMEMORE
Choice: yes
Feature: Portable
High-concerned chemical: None
Material: Plastic
Model Number: TIMEMORE Basic 3 Coffee Weighing Platform
Origin: Mainland China
Two incorrect setups to avoid: The following two common setup mistakes can make the displayed weight rise or fall even when nobody is touching the brewer.
A fabric mat is under the scale
🙅Incorrect setup: placing the scale on a woven mat, coffee mat, coaster, towel, or other fabric surface. Even when the countertop underneath is hard, the soft layer can compress, shift, or let the scale rock slightly.
🙅Do not place the scale on: a table mat, coffee mat, cup coaster, towel, carpet, rubbery fabric, or any other soft or flexible material.
✅Correct setup: Remove every mat or coaster and place all four feet of the scale directly on a hard, flat marble countertop, a flat and wobble-free wooden table, or a stable workbench.
✅All four feet must be fully supported: Position the entire scale away from the countertop edge so that all four feet rest completely on the same solid surface. No foot should hang over the edge or remain unsupported. Check that the scale does not tilt or rock.
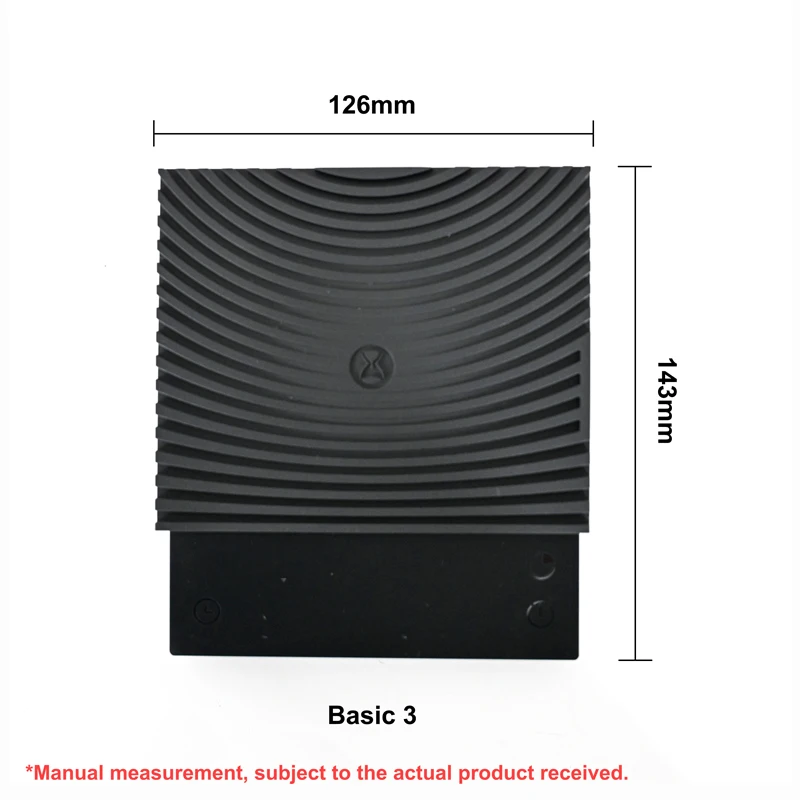
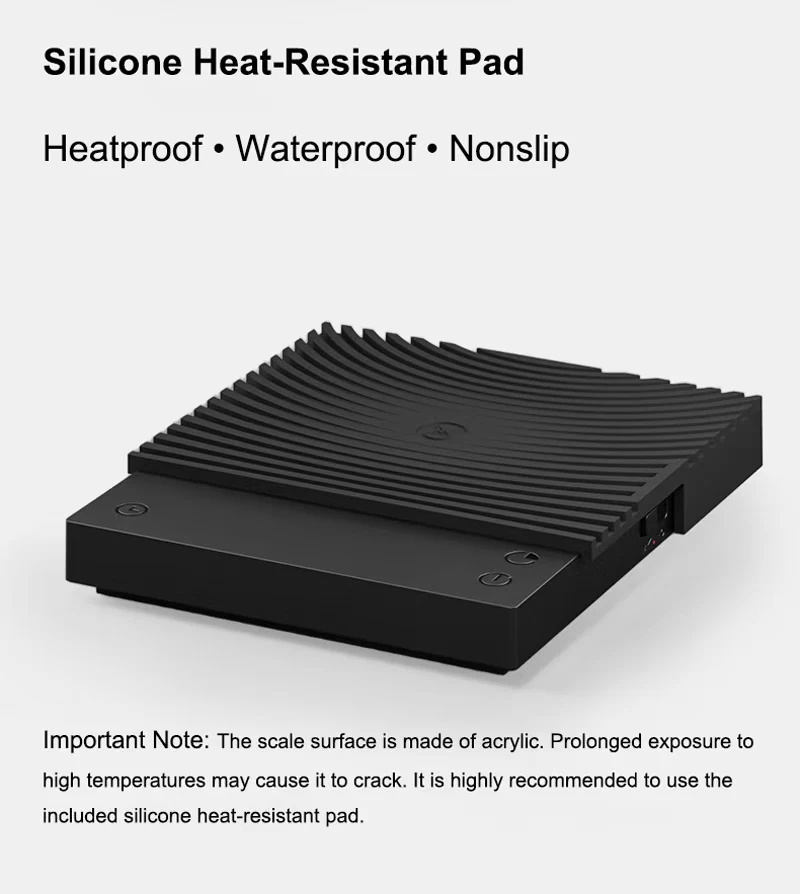
Silicone-pad note: The supplied silicone pad belongs on top of the weighing platform to protect it from heat. It is not a cushion for underneath the scale.
Air from a fan or air conditioner is reaching the scale
Warning sign: the filter paper sways or trembles even though nobody is touching it. Any visible movement can indicate airflow from a fan, air conditioner, vent, or open window.
Moving air presses on the large filter paper and brewer. A sensitive coffee scale detects this changing force, so the reading drifts up and down.
✅Correct setup: Turn off or redirect nearby fans and air conditioning, move away from vents, and close any window creating a draft. If the filter paper is still moving, airflow interference is still present. Move the scale to another area without airflow interference before use.
FAQ - Why Is My Scale Reading Unstable?
❓Q1: Can I put the scale on a coffee mat, cup mat, towel, or carpet?
✅ A: No.
Even if the table underneath is hard, a soft or flexible layer can compress and cause tiny rocking or uneven support. Place the scale itself directly on a hard, flat, stable surface.
❓Q2: The filter paper is moving slightly. Can that affect the weight?
✅A: Yes. Moving filter paper is an easy visual warning that air is reaching the setup.
Turn off or redirect the fan/AC, move away from the vent, and retest only when the paper is completely still.
❓Q3: Can I use the scale near the edge of a hard, flat countertop?
✅A: Only if all four feet are completely supported.
A hard, flat countertop is not sufficient when one foot hangs over the edge or remains unsupported. Place the entire scale inside the countertop area and check that it cannot tilt or rock.
❓Q4: What other vibrations can make the number move?
✅A: Touching the table, footsteps, closing a door, a running grinder, refrigerator, pump,
or other appliance can transmit vibration. Test on a stable counter without touching it and move the scale away from operating equipment.
❓Q5: Can static electricity or nearby electronics cause unstable readings?
✅A: They can in some environments.
Keep wireless chargers and transmitting devices away during the test.
Avoid rubbing dry plastic, synthetic cloth, or clothing near the scale, as these can build static charge.
❓Q6: Is the scale fully charged before shipping?
✅A: No. The scale is not fully charged at the factory. Please fully charge it before first use.
❓Q7: What charging cable and charger should I use?
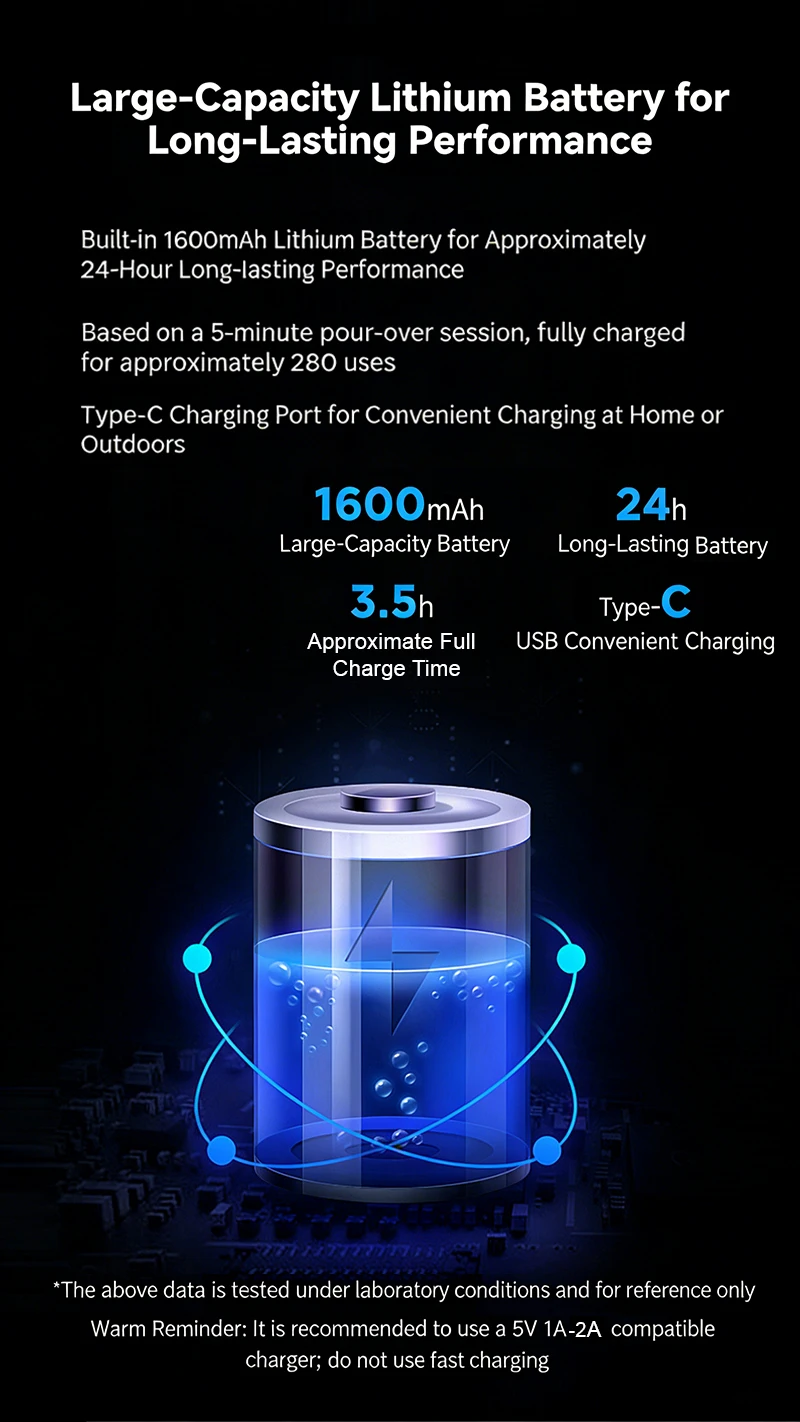
✅A: The package includes a USB-C charging cable but does not include a charger.
use your own 5V/1A charger.
Do not use a fast charger. Fast charging will not make the scale charge faster;
it only creates extra heat and may damage the battery.
❓Q8: Should I recharge the scale during long periods of non-use?
✅A: Yes.
Recharge the scale periodically even when it is not used for a long time. This helps keep the battery active and supports long-term battery health.
❓Q9: Should I use the heat-insulation pad under a hot glass server?
✅A: Yes, always.
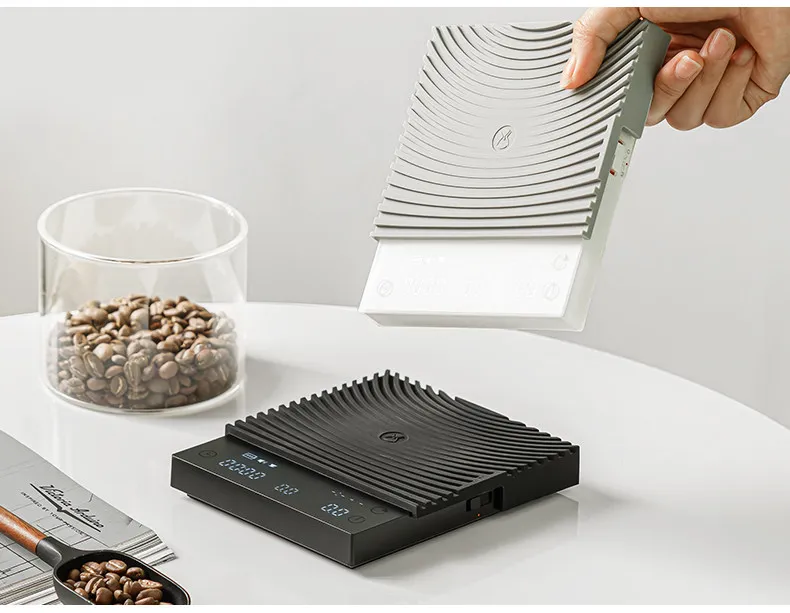
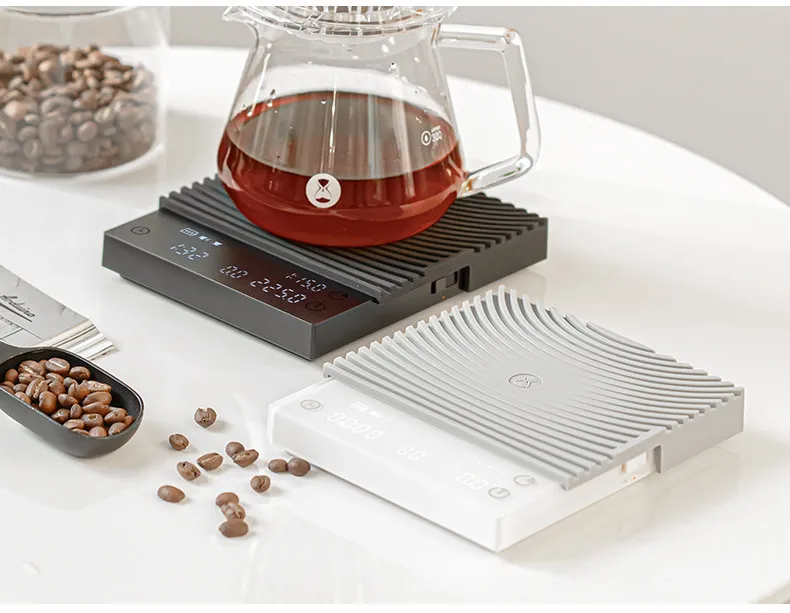
Place the heat-insulation pad on top of the scale before setting down a hot glass server. Long-term direct contact with heat can accelerate aging of the weighing-surface material and may damage the scale's internal precision components.
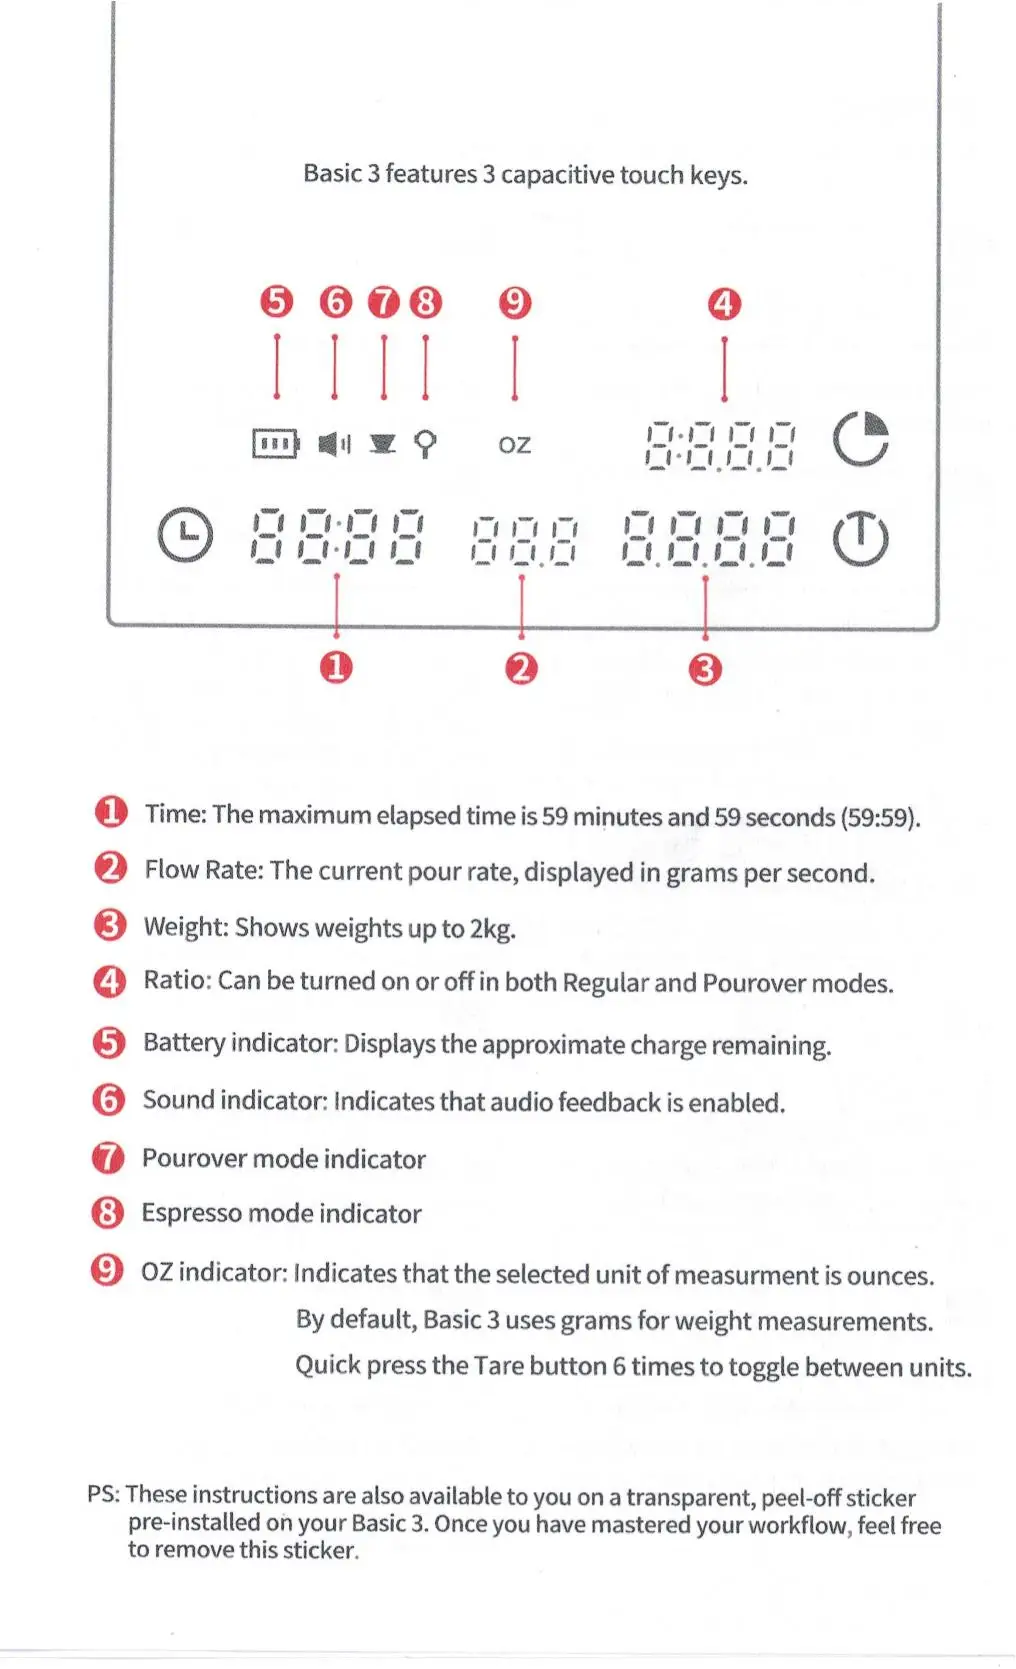
❓Q10: Why is the display stuck on "8888" after I turn on the scale?
✅ A: "8888" is the startup self-test display.
Do not touch, press, or hold any button on the screen until the self-test is complete.
Holding a button during startup can prevent the scale from completing its self-test.
An unstable, tilted, uneven, or wobbling surface can cause the same problem.
Restart steps: Turn the scale completely off. Move it to a hard, flat, level, stable surface, with all four feet fully supported and no rocking. Turn it on again, then keep your hands away from the scale and all buttons until the normal weighing display appears.
👍Place the scale on a flat and stable surface.
🥰 Keep away from airflow interference.
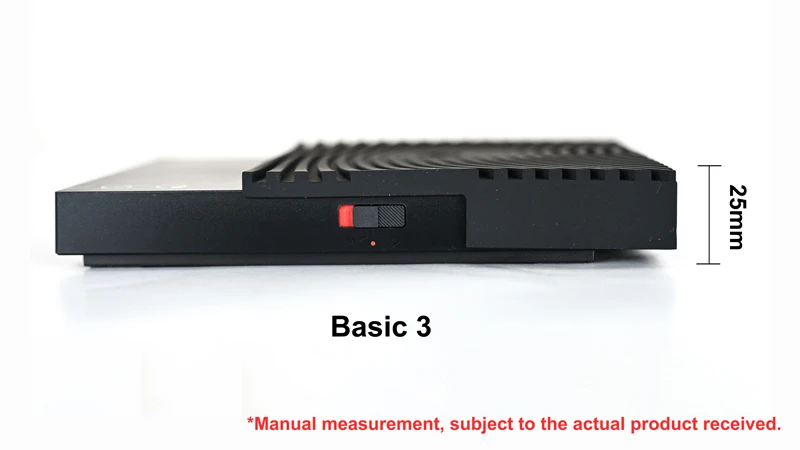
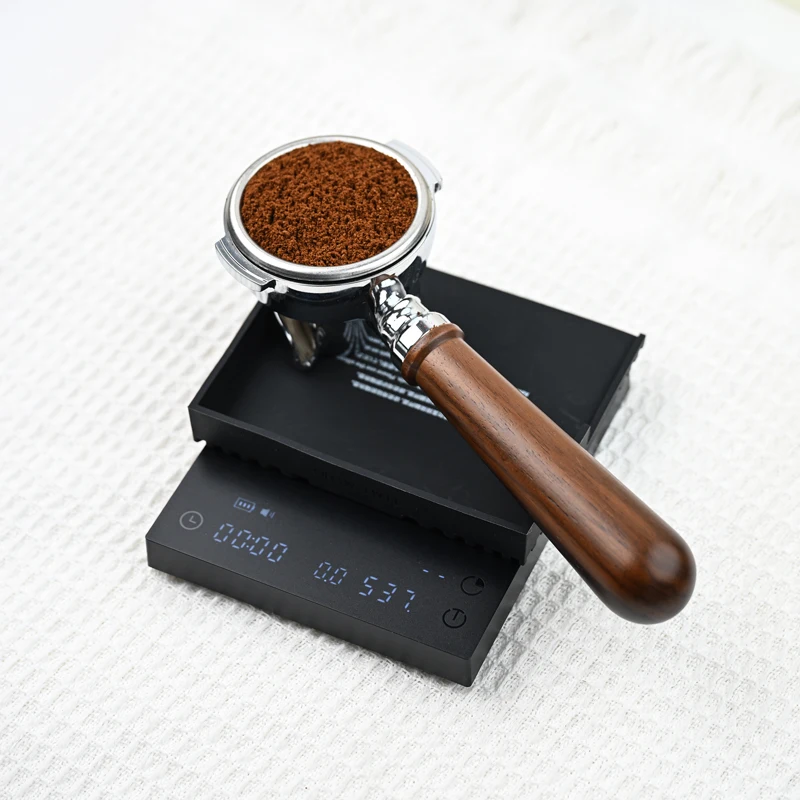
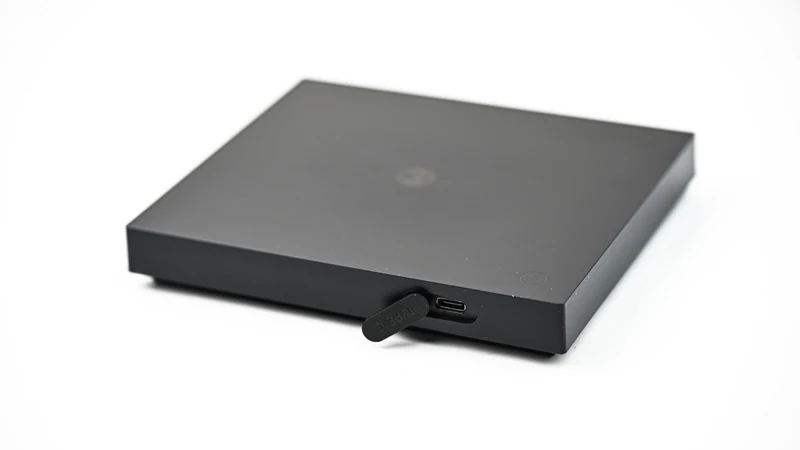
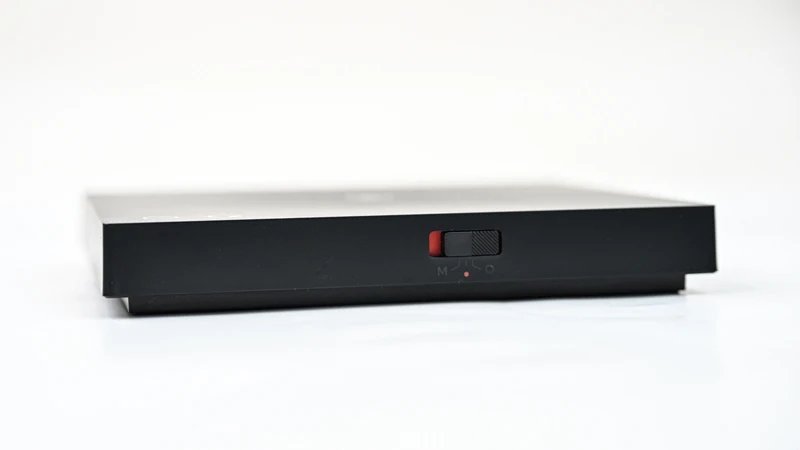
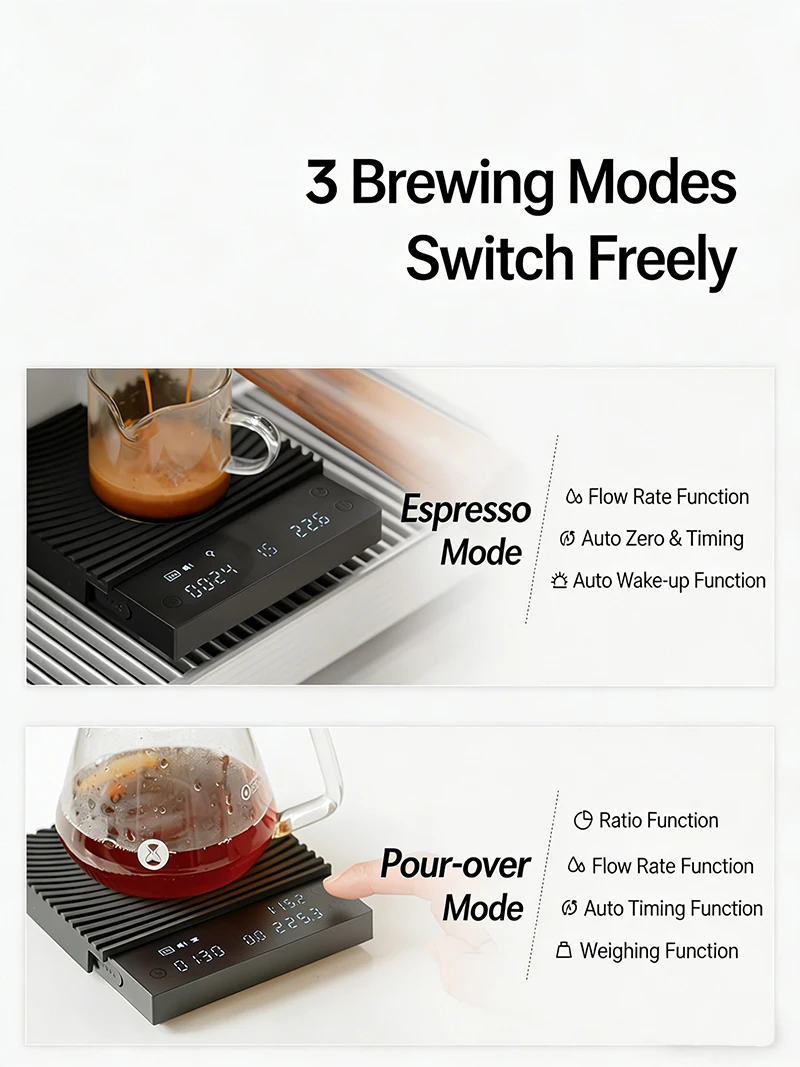
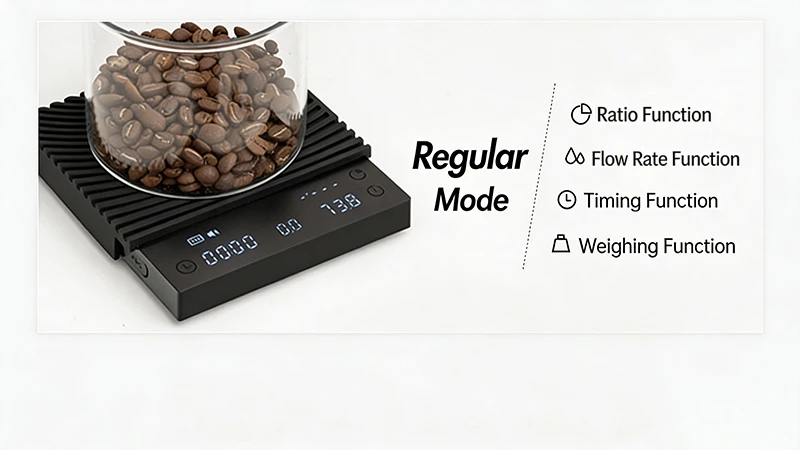
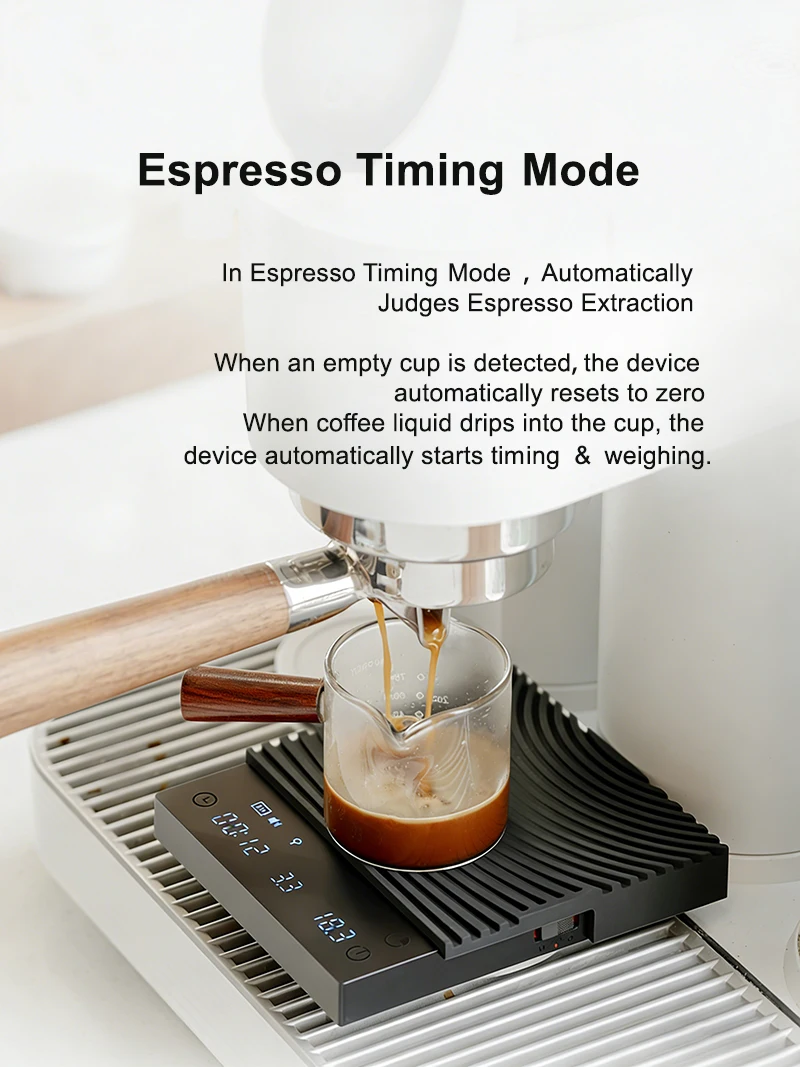
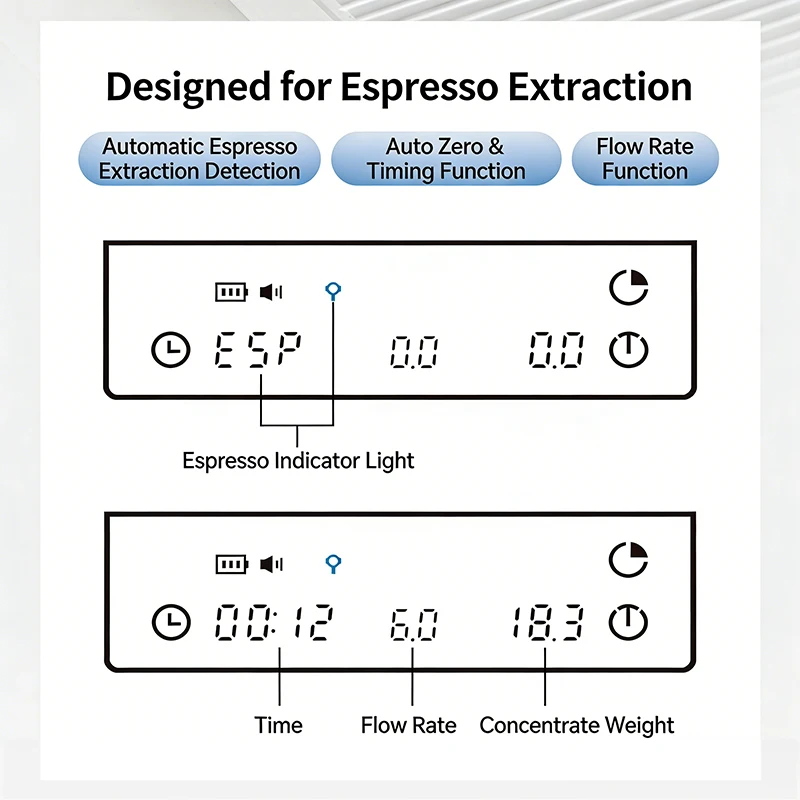
IMPORTANT: Understanding Espresso Mode on Your TIMEMORE Basic 3 Black Mirror Scale
Before You Begin — Please Read This First
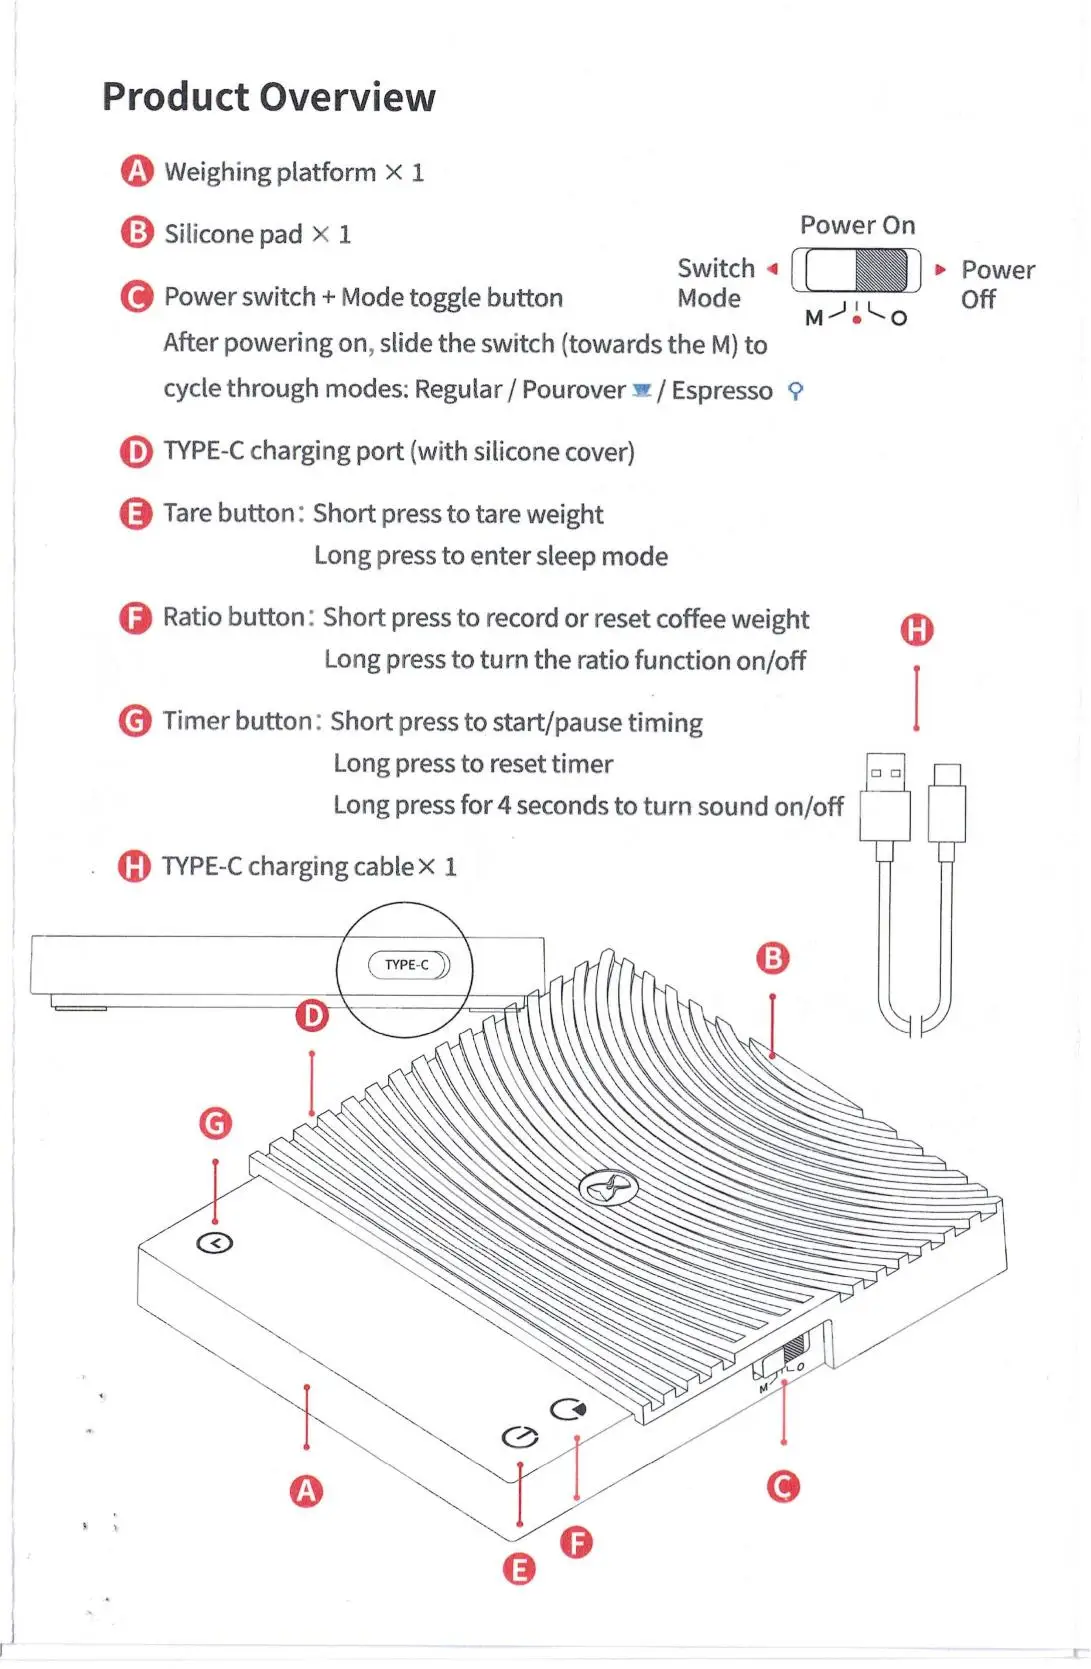
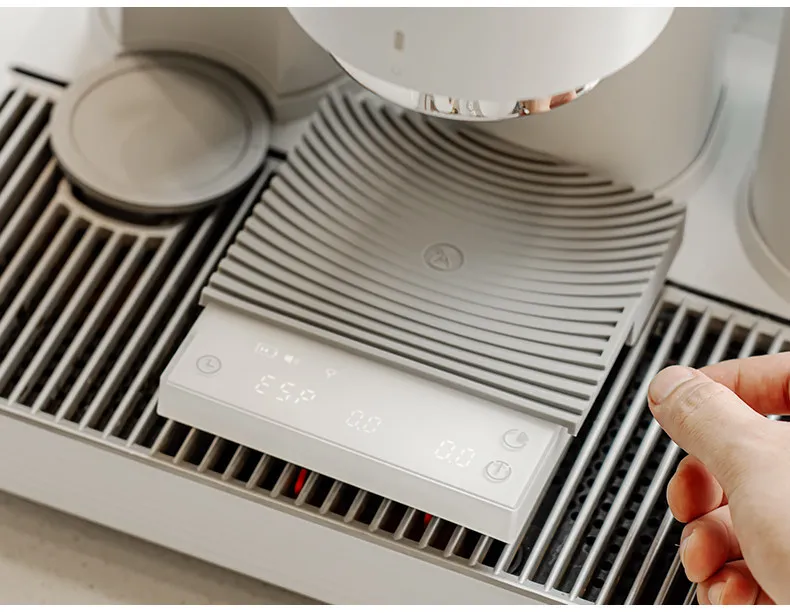
Espresso Mode is a smart, flow-sensitive mode designed exclusively for real espresso extraction scenarios. It behaves differently from other weighing modes, and understanding how it works will help you get the most out of your scale.
How Espresso Mode Works
Espresso Mode uses automatic flow-rate detection to determine when an espresso extraction has started. Here's the key logic:
Scale State |
What's Happening |
What You'll See |
Waiting for extraction |
The scale is in standby, monitoring for espresso-level flow |
Weight auto-tares (resets to zero); timer does not start |
Extraction detected |
The scale recognizes a slow, steady espresso flow rate |
Timer starts automatically; weight tracks liquid in real time |
Extraction complete |
Flow stops |
Weight and timer flash to indicate the shot is finished |
Common Misconception: "The scale keeps resetting to zero — is it defective?"
No — this is normal and expected behavior.
Before the scale detects a valid espresso flow, it treats all weight changes as pre-extraction preparation (e.g., placing a cup, positioning a drip tray, adjusting a portafilter). The scale automatically tares these out so that when extraction begins, your reading starts cleanly from zero.
This means:
Pouring water by hand (e.g., from a kettle or pour-over style) produces a flow rate far greater than a real espresso extraction.
The scale will not recognize this as an extraction — it remains in the "waiting" state.
Any weight registered during this stage will be tared to zero automatically.
The timer will not start.
In short: even though you have selected Espresso Mode, it has not truly activated yet.
How to Confirm Espresso Mode Is Working
The single most reliable indicator is the timer:
Timer starts counting automatically = Espresso Mode is active and running.
Timer stays at 00:00 = Espresso Mode is still waiting for a valid extraction flow.
Testing Without an Espresso Machine
If you'd like to test Espresso Mode manually without a machine:
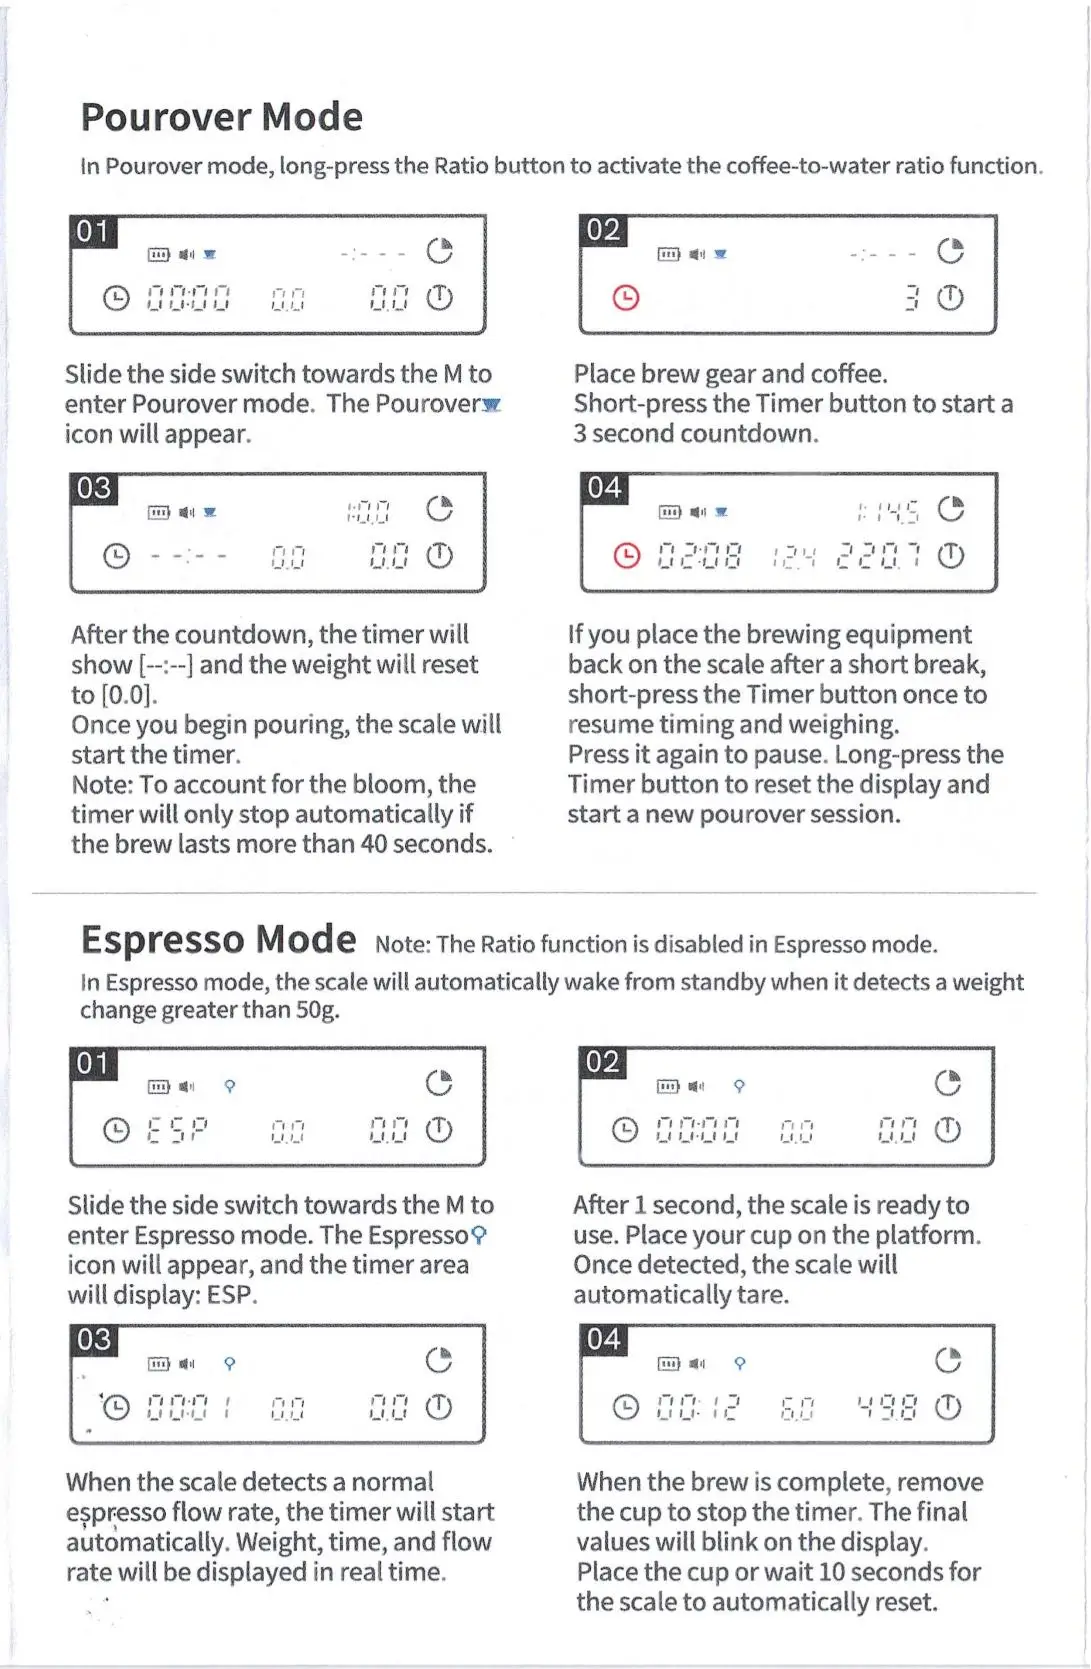
Place a cup on the scale and switch to Espresso Mode.
Pour water in the thinnest, slowest stream you can manage — try to mimic the gradual drip of an espresso shot.
Watch the timer. Once it starts on its own, the mode has activated successfully.
Stop pouring — the weight and timer should flash, confirming the cycle is complete.
Tip: A normal espresso extraction produces roughly 30–45g of liquid over 25–35 seconds. Try to approximate this pace.
Quick Reference
If you see this... |
It means... |
Weight keeps resetting to zero |
The scale is in preparation standby — not a defect |
Timer does not start |
No valid espresso flow detected yet |
Timer starts automatically |
Espresso Mode is fully active |
Weight and timer flash |
Extraction complete |
For the complete guide to all scale modes, please refer to the user manual included with your product.
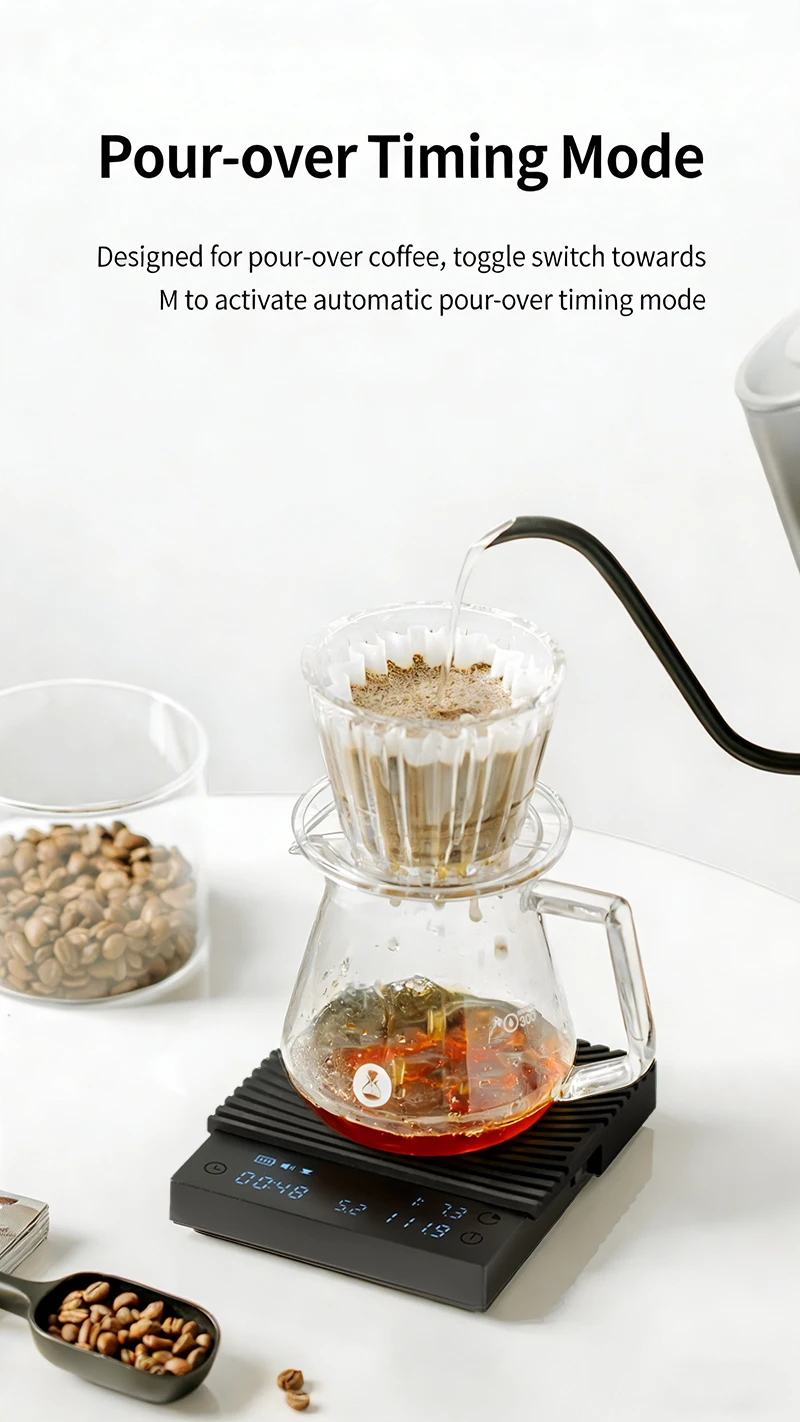
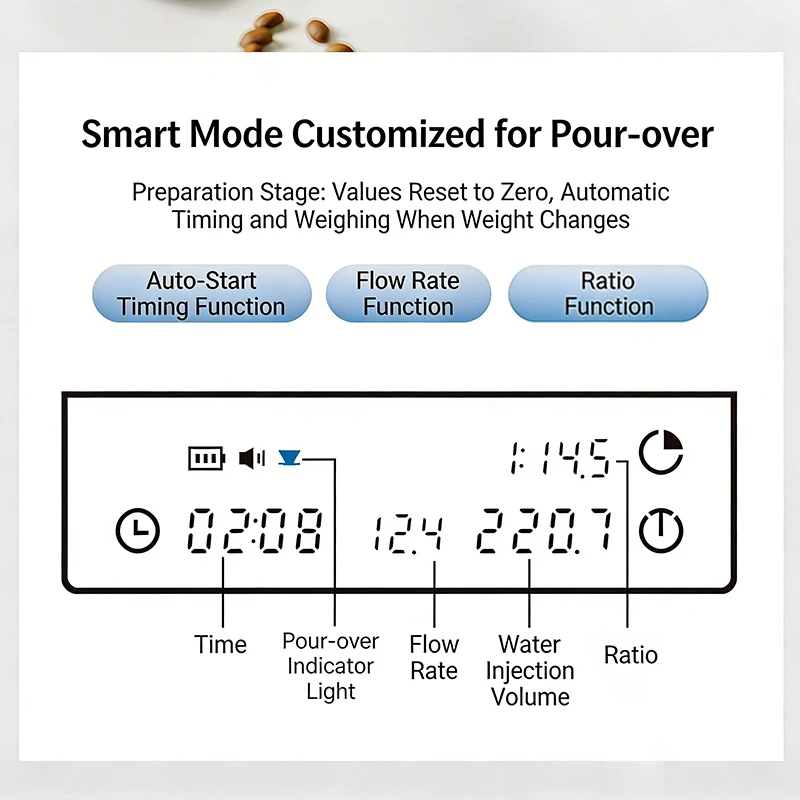
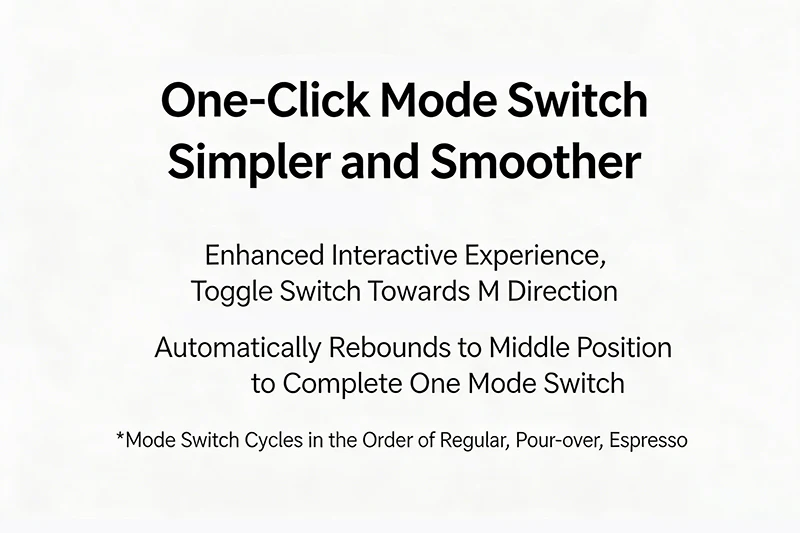
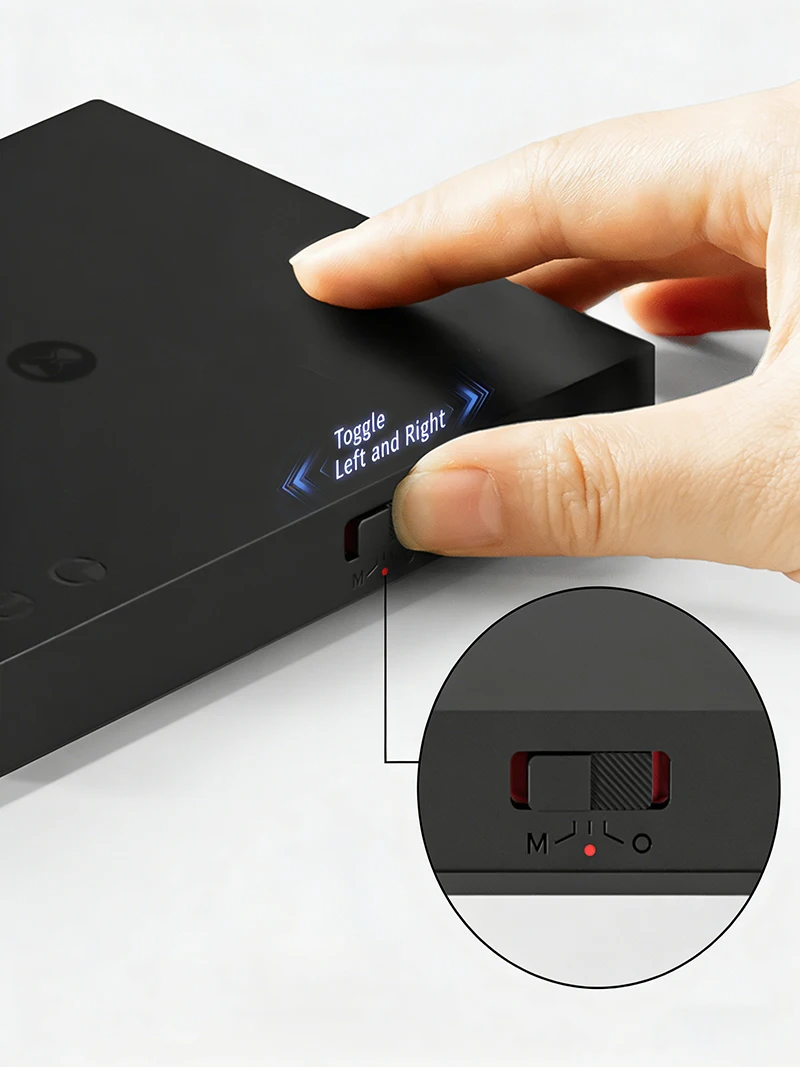
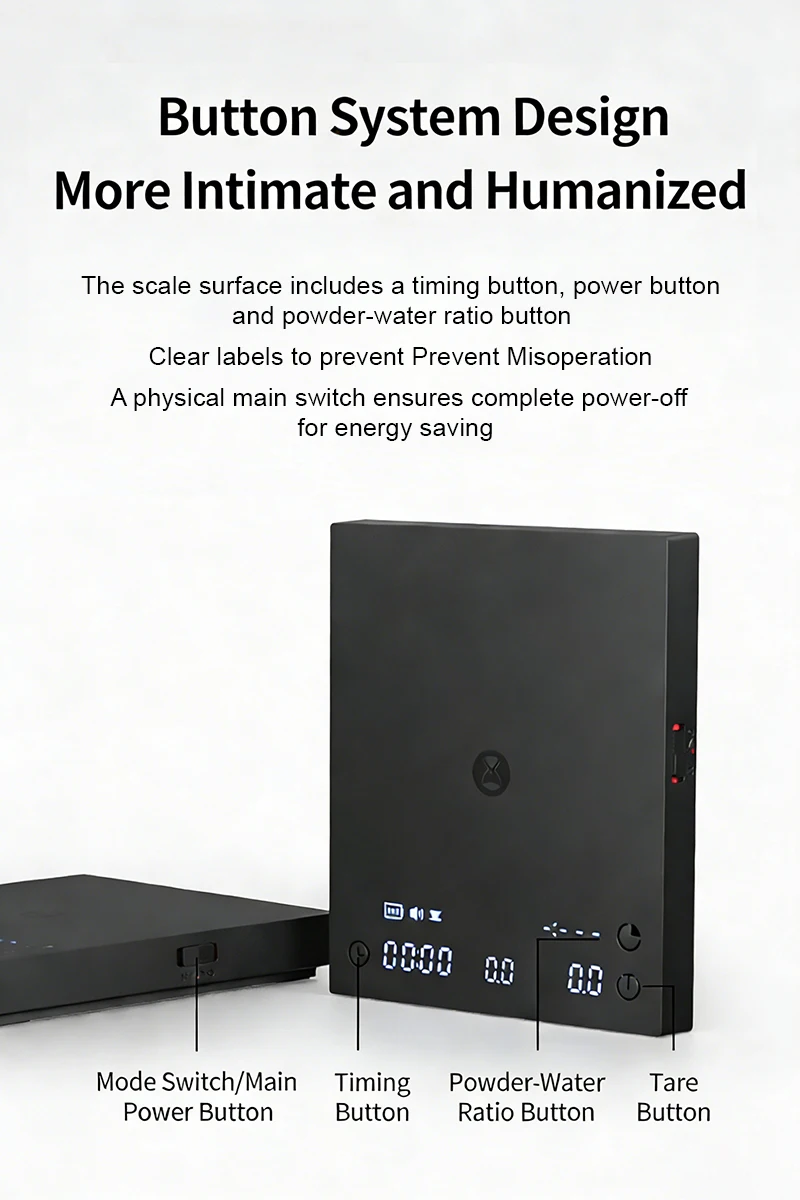
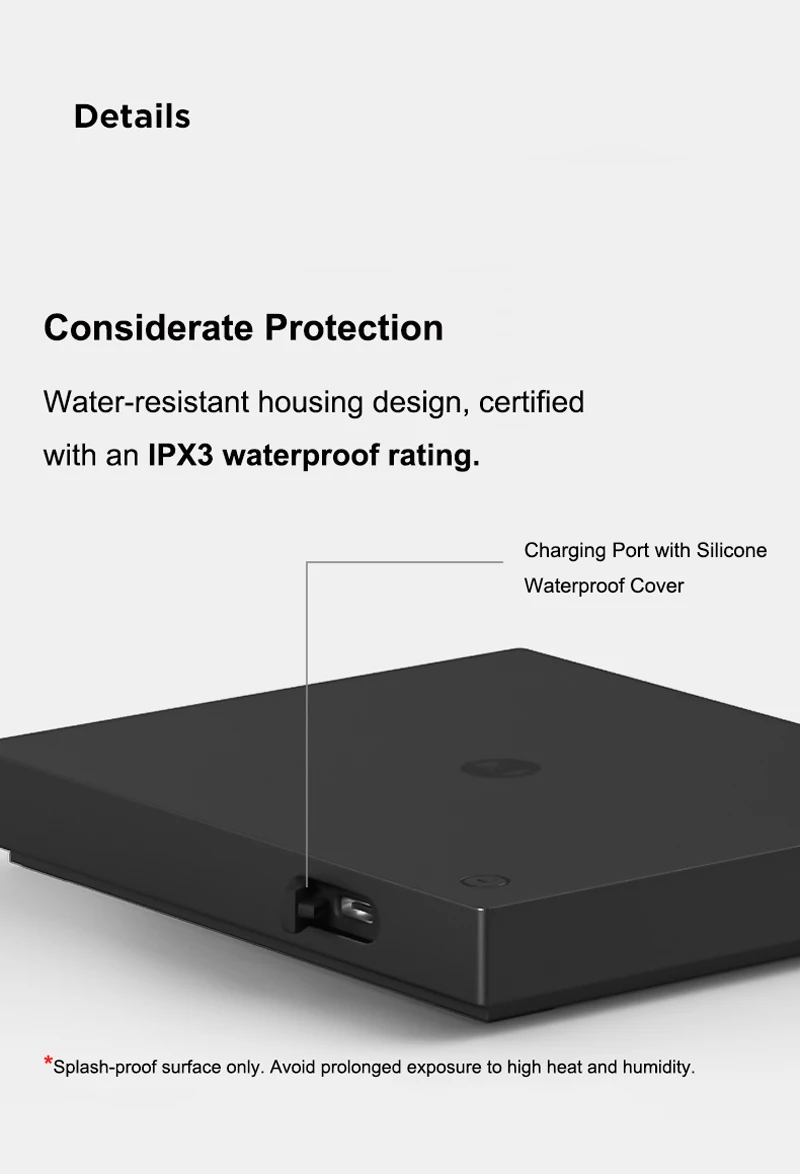
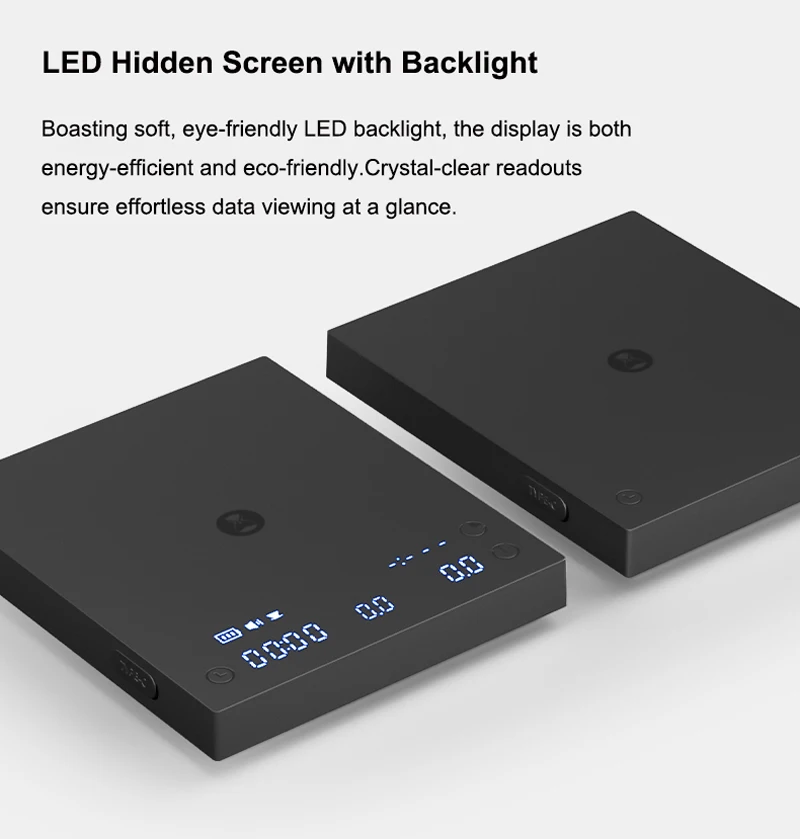
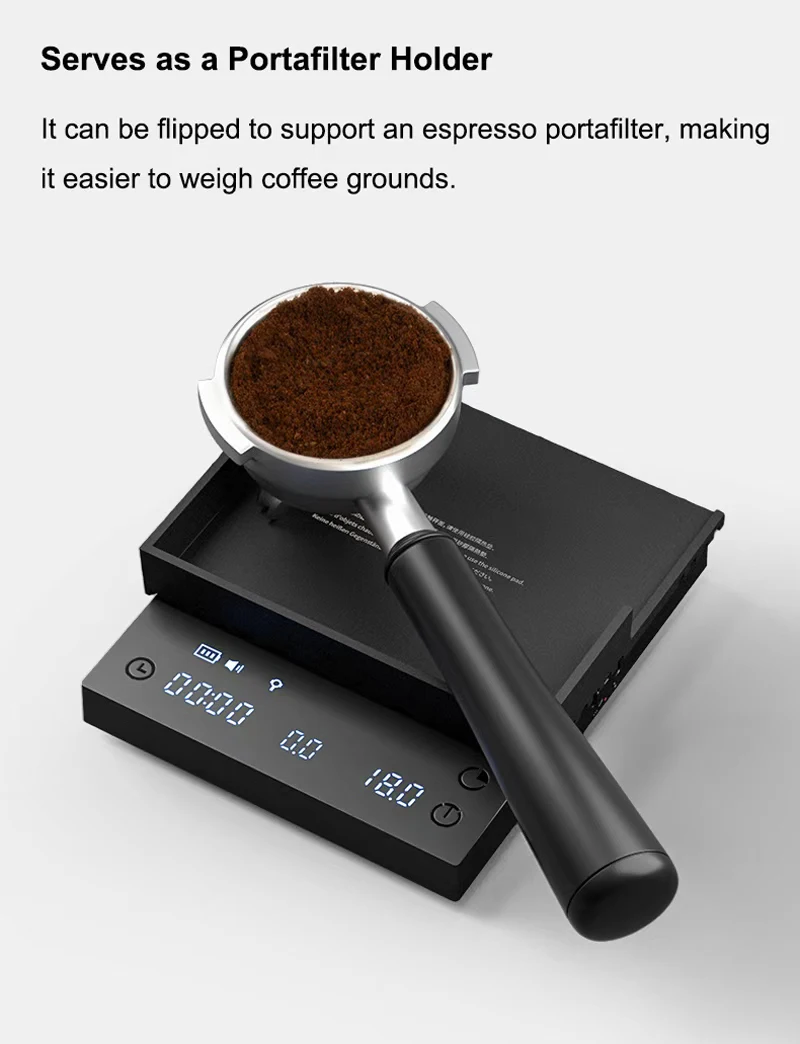
Important Notice
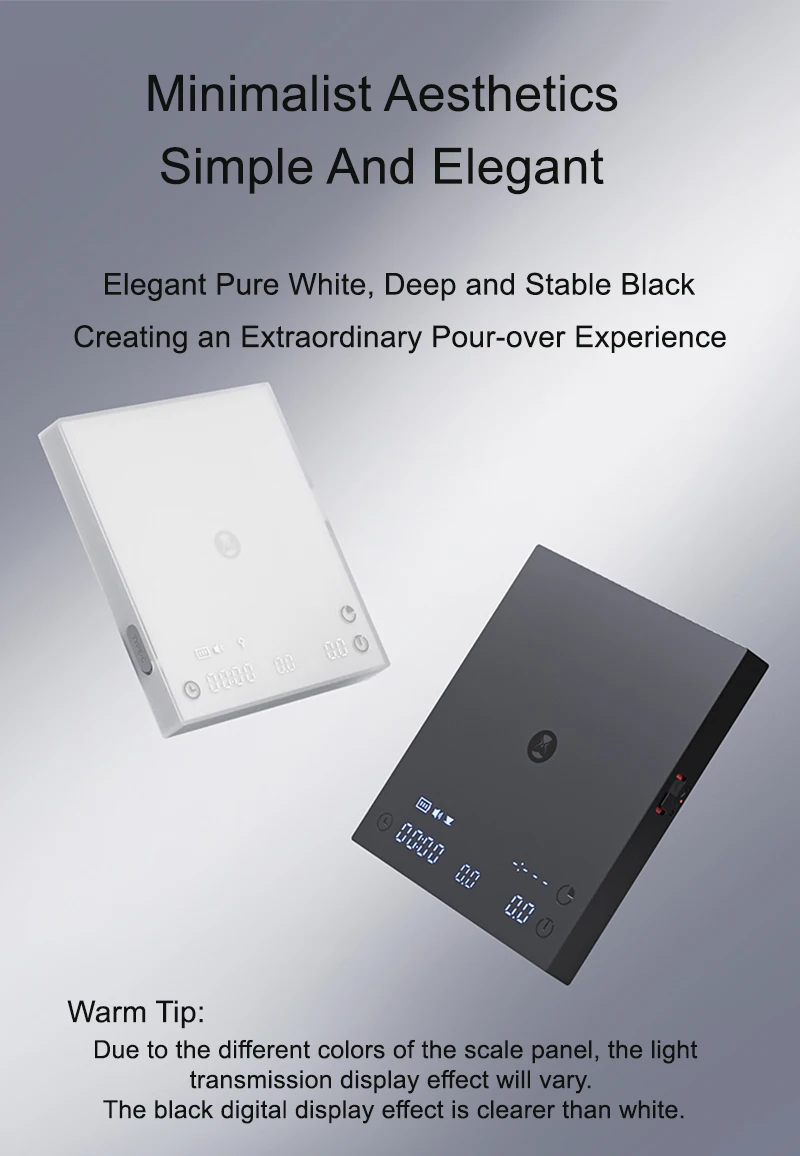
Due to material differences, the digital display on the white scale is less clear than the black version. We recommend choosing black if display visibility is a priority.
Thank you for your understanding.
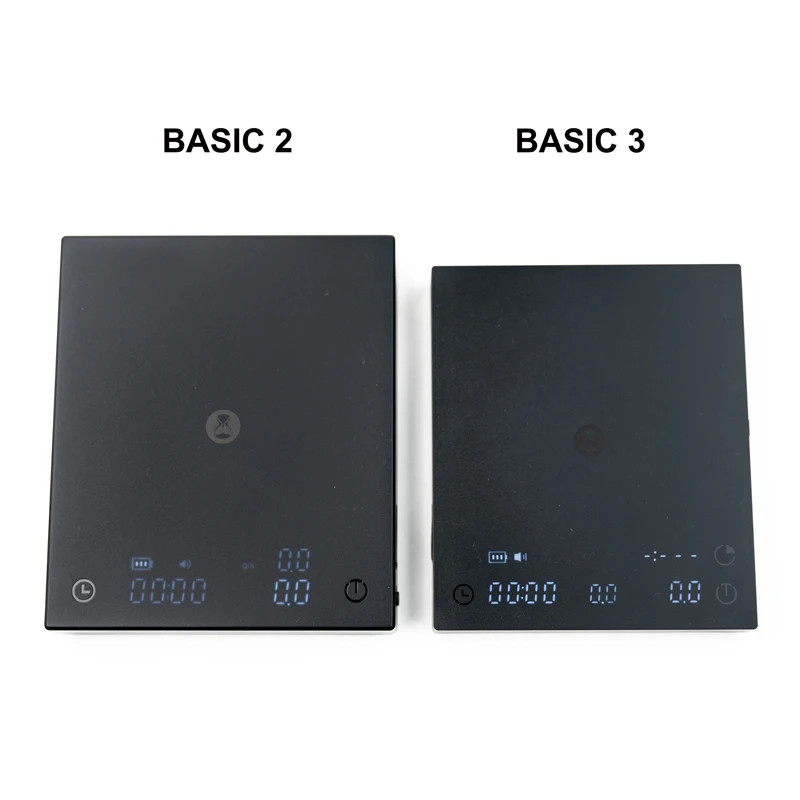
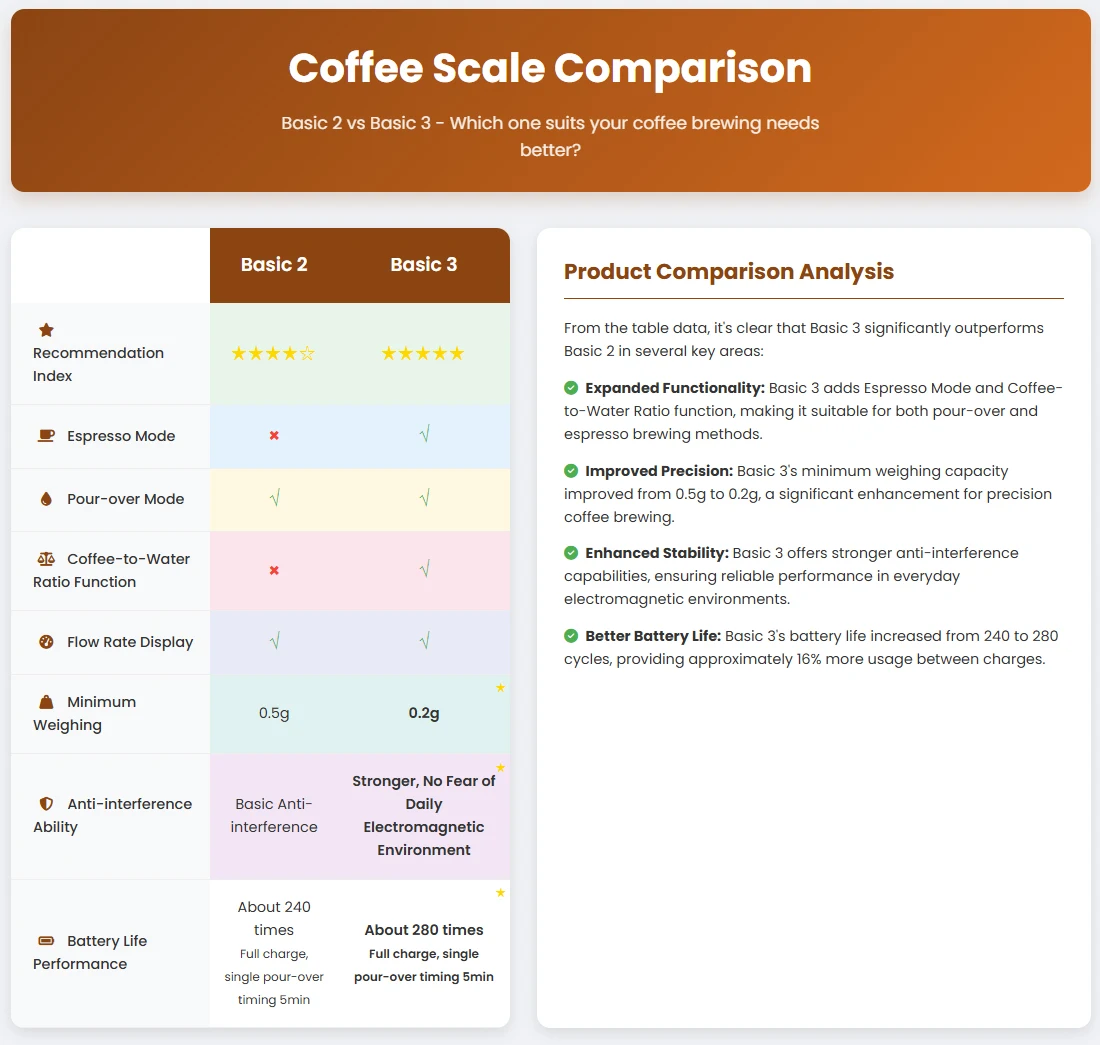
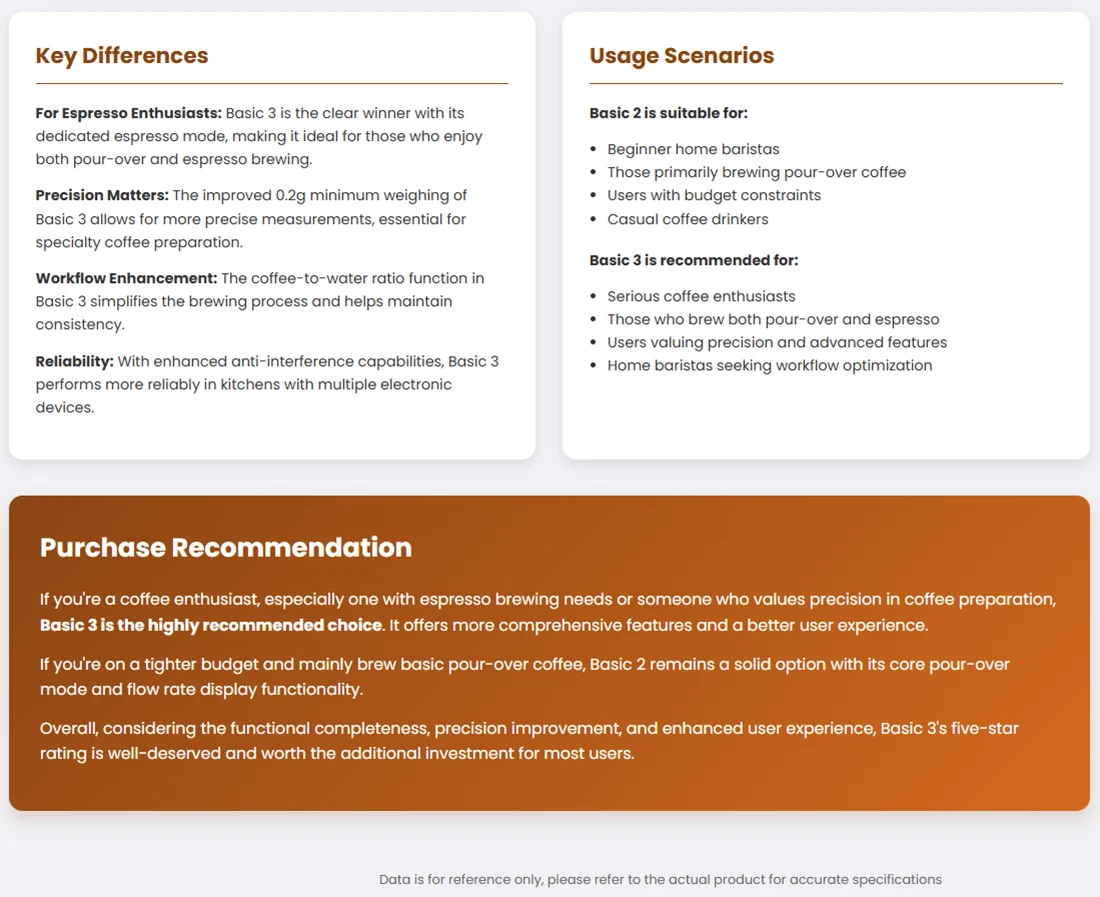
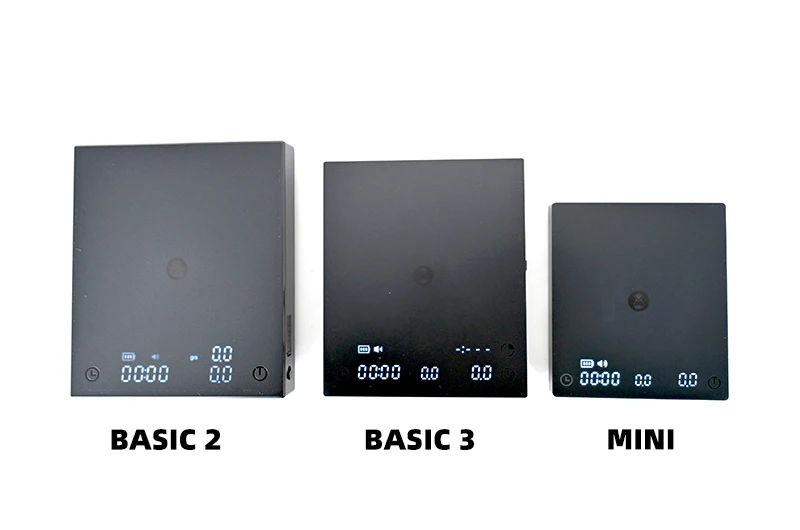
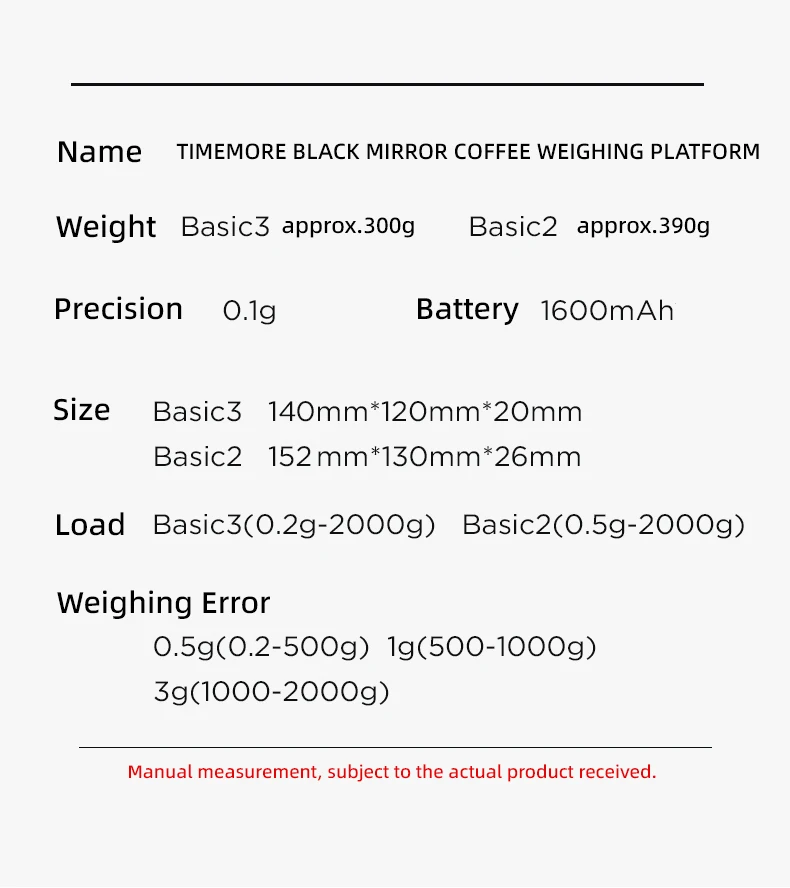
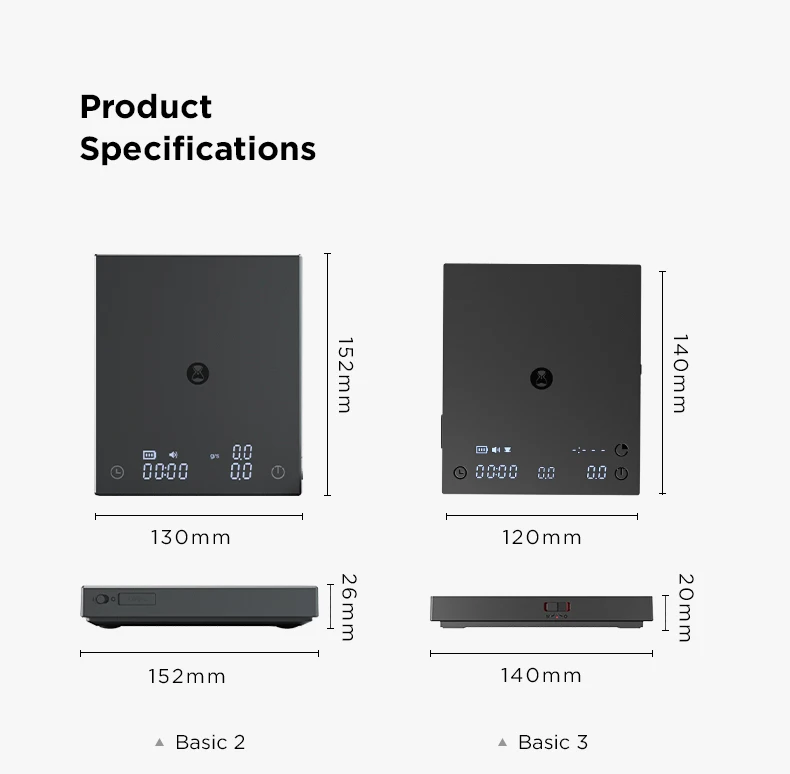
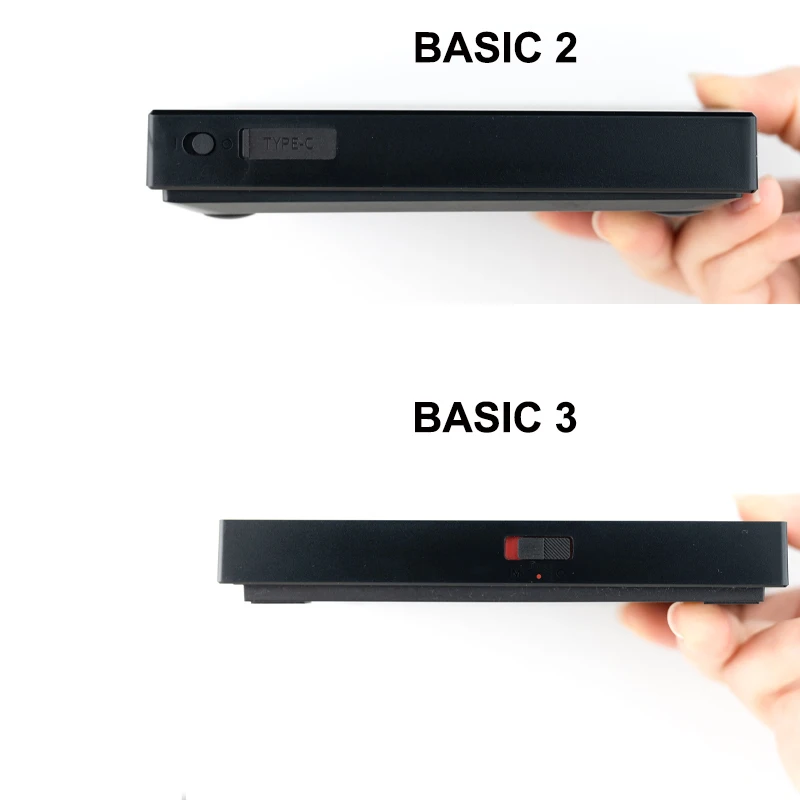
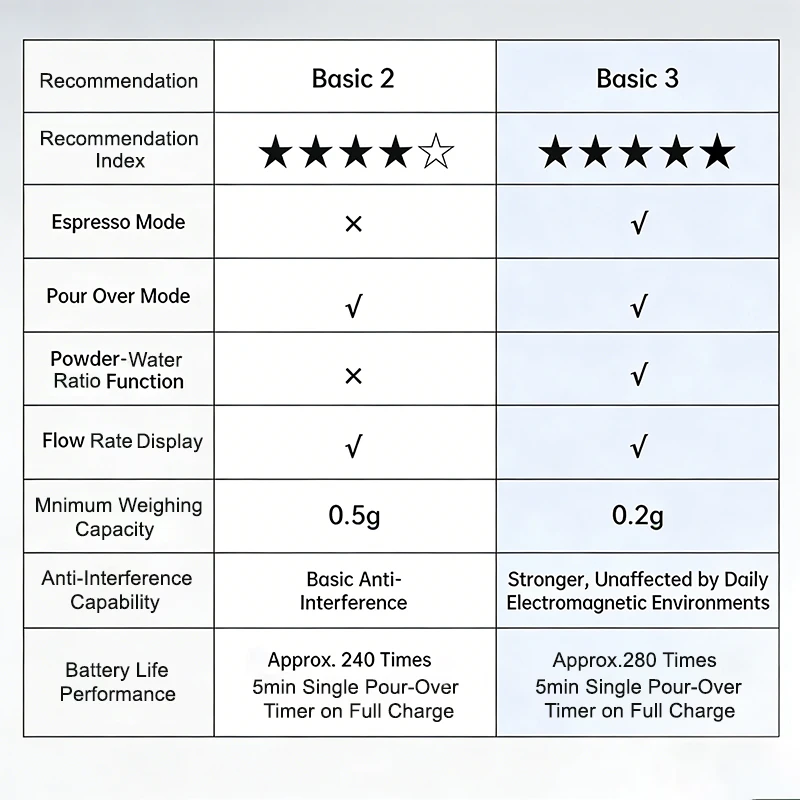
How to Choose Between Basic 2 & Basic 3 Coffee Scales
Pick Basic 2 if you:
Are a beginner home barista or casual coffee drinker
Only brew pour-over coffee (no espresso brewing required)
Have budget constraints and want a cost-effective core option
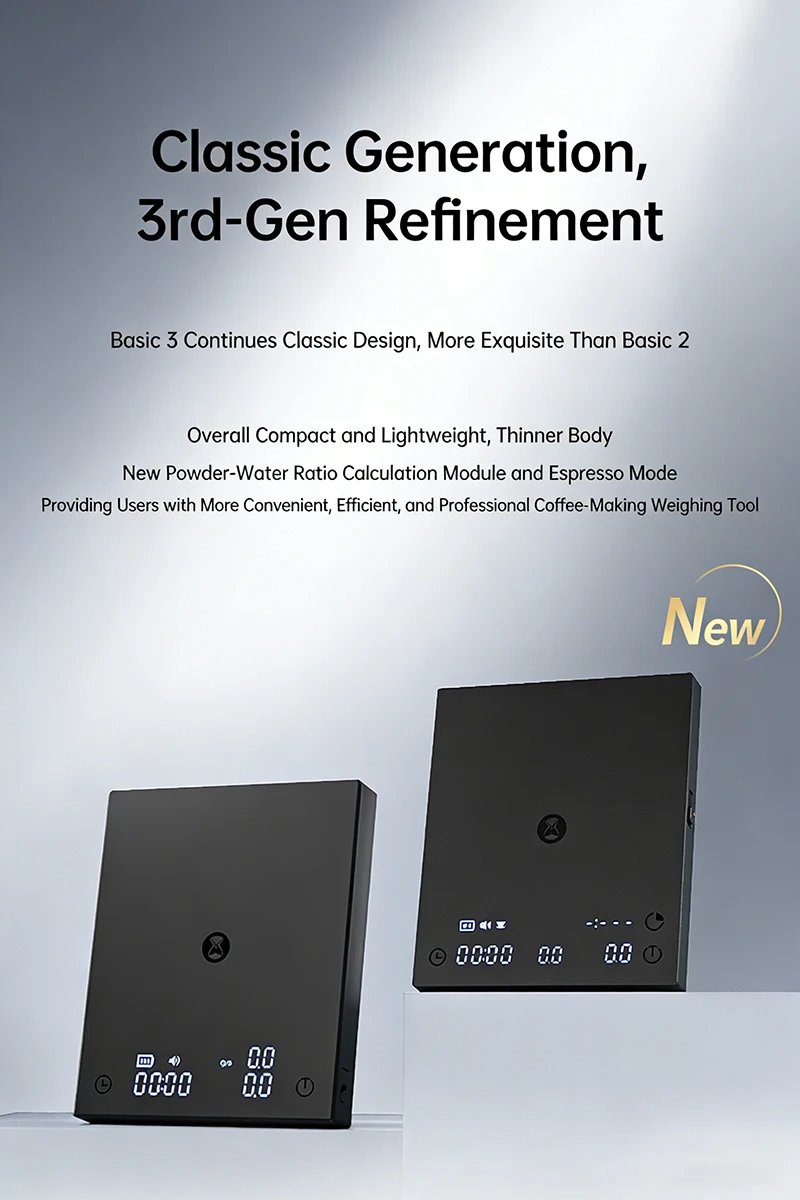
Only need essential features: pour-over mode + flow rate display (no espresso mode or coffee-to-water ratio function)
Don’t require ultra-precise measurements (0.5g minimum weighing meets basic needs)
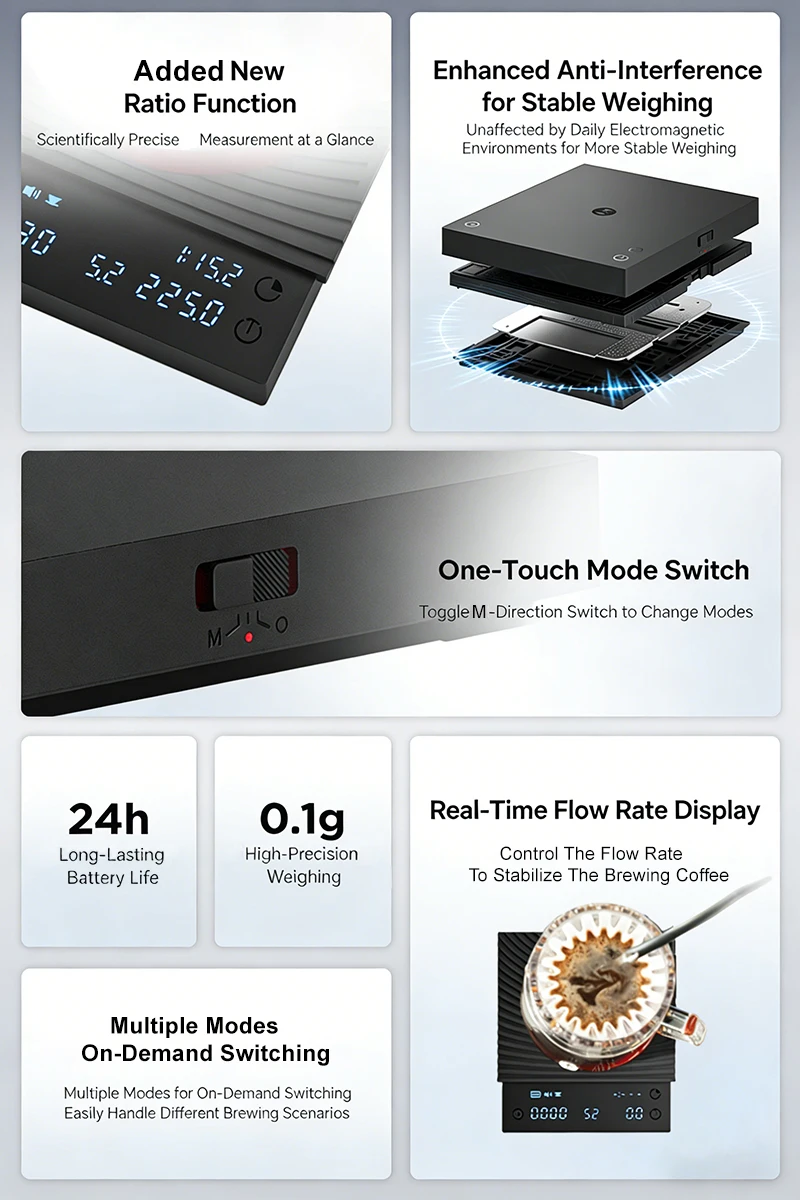
Pick Basic 3 if you:
Are a serious coffee enthusiast or home barista focused on workflow optimization
Brew both pour-over and espresso (needs a dedicated espresso mode)
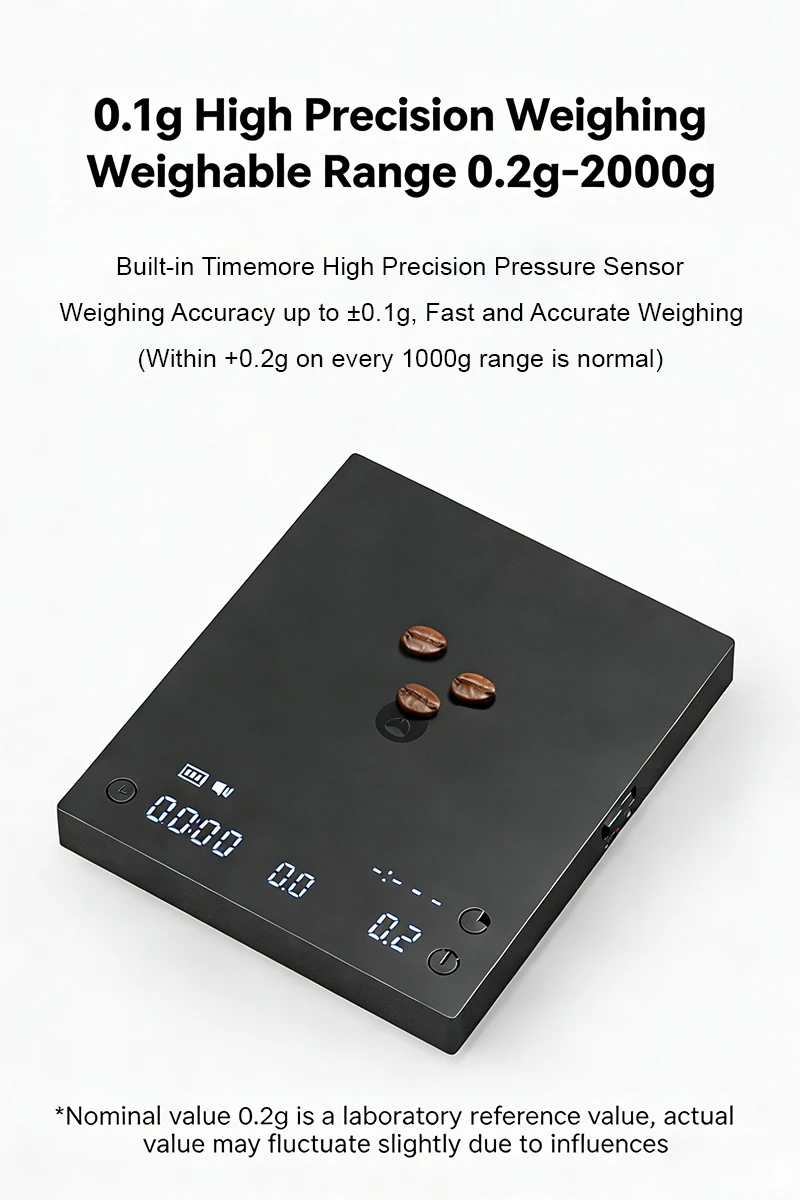
Value precision for specialty coffee (0.2g minimum weighing, a big upgrade from Basic 2’s 0.5g)
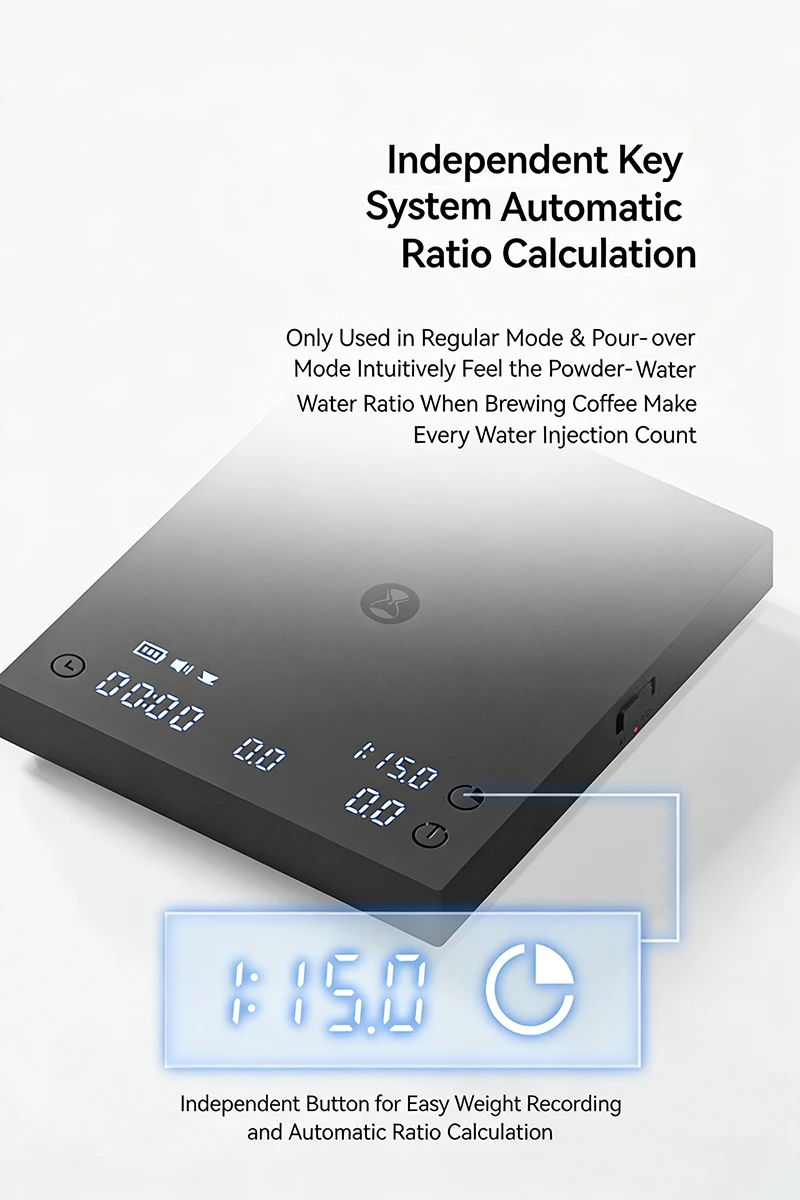
Want advanced tools: coffee-to-water ratio function for consistent, easy brewing
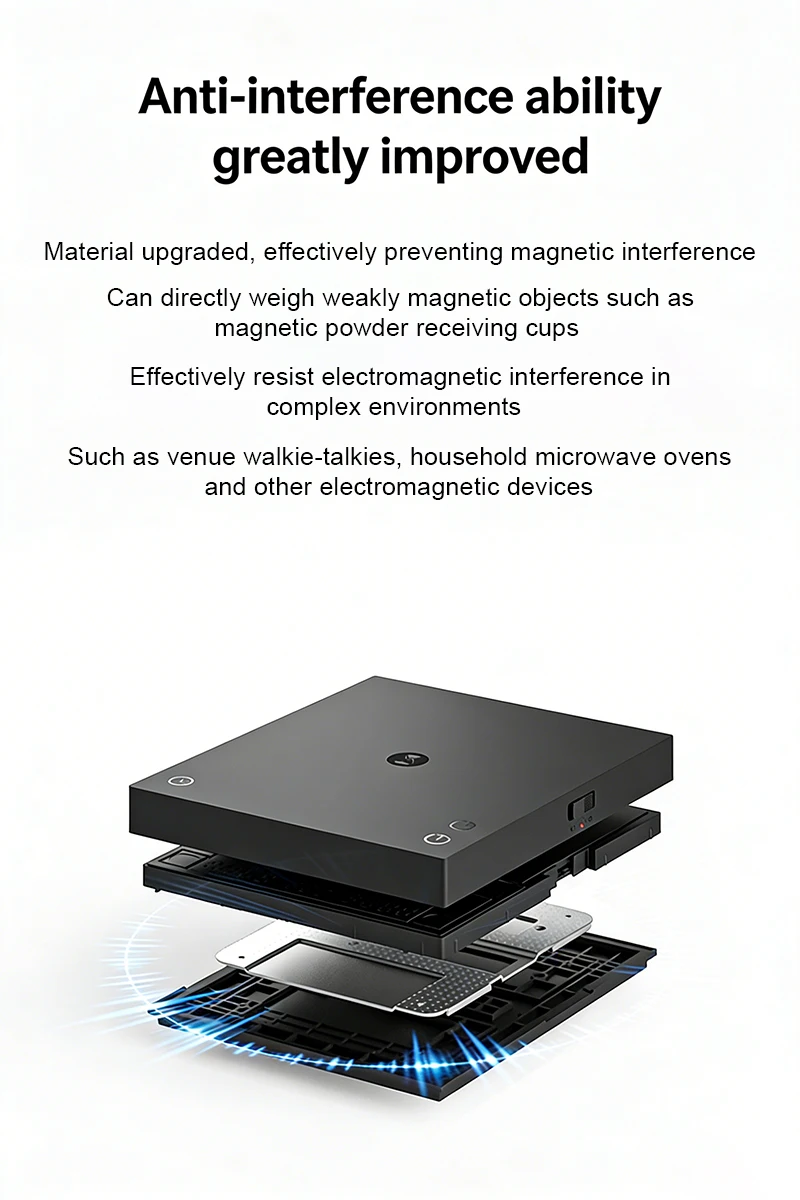
Need enhanced anti-interference (reliable in kitchens with multiple electronic devices)
Prefer longer battery life (280 full-charge uses vs. Basic 2’s 240, ~16% more usage between charges)
Final Takeaway