
TPE Doll Filling Glue Wheat TPE Material Hole Filling


TPE Doll Filling Glue Wheat TPE Material Hole Filling
SPECIFICATIONS
Brand Name: NoEnName_Null
Capacity: 50ml
Choice: yes
High-concerned chemical: None
Material: Other
Origin: Mainland China
Packing Pattern: Other
Type: Liquid Glue
semi_Choice: yes
Kind reminder:
After receiving the goods, please strictly follow the instructions provided. If you are unsure, please feel free to contact us at any time!
(Please note that it is not recommended to purchase areas with tension such as the thigh base and armpits!)
Reminder:
Please distinguish between materials before purchasing. Is it made of thermoplastic elastomer or silicone resin? Targeted selection of glue. Many buyers view silicone and thermoplastic elastomers as one material... This glue is specifically designed to fill the grooves and pits of TPE dolls.
How to fill voids and potholes:
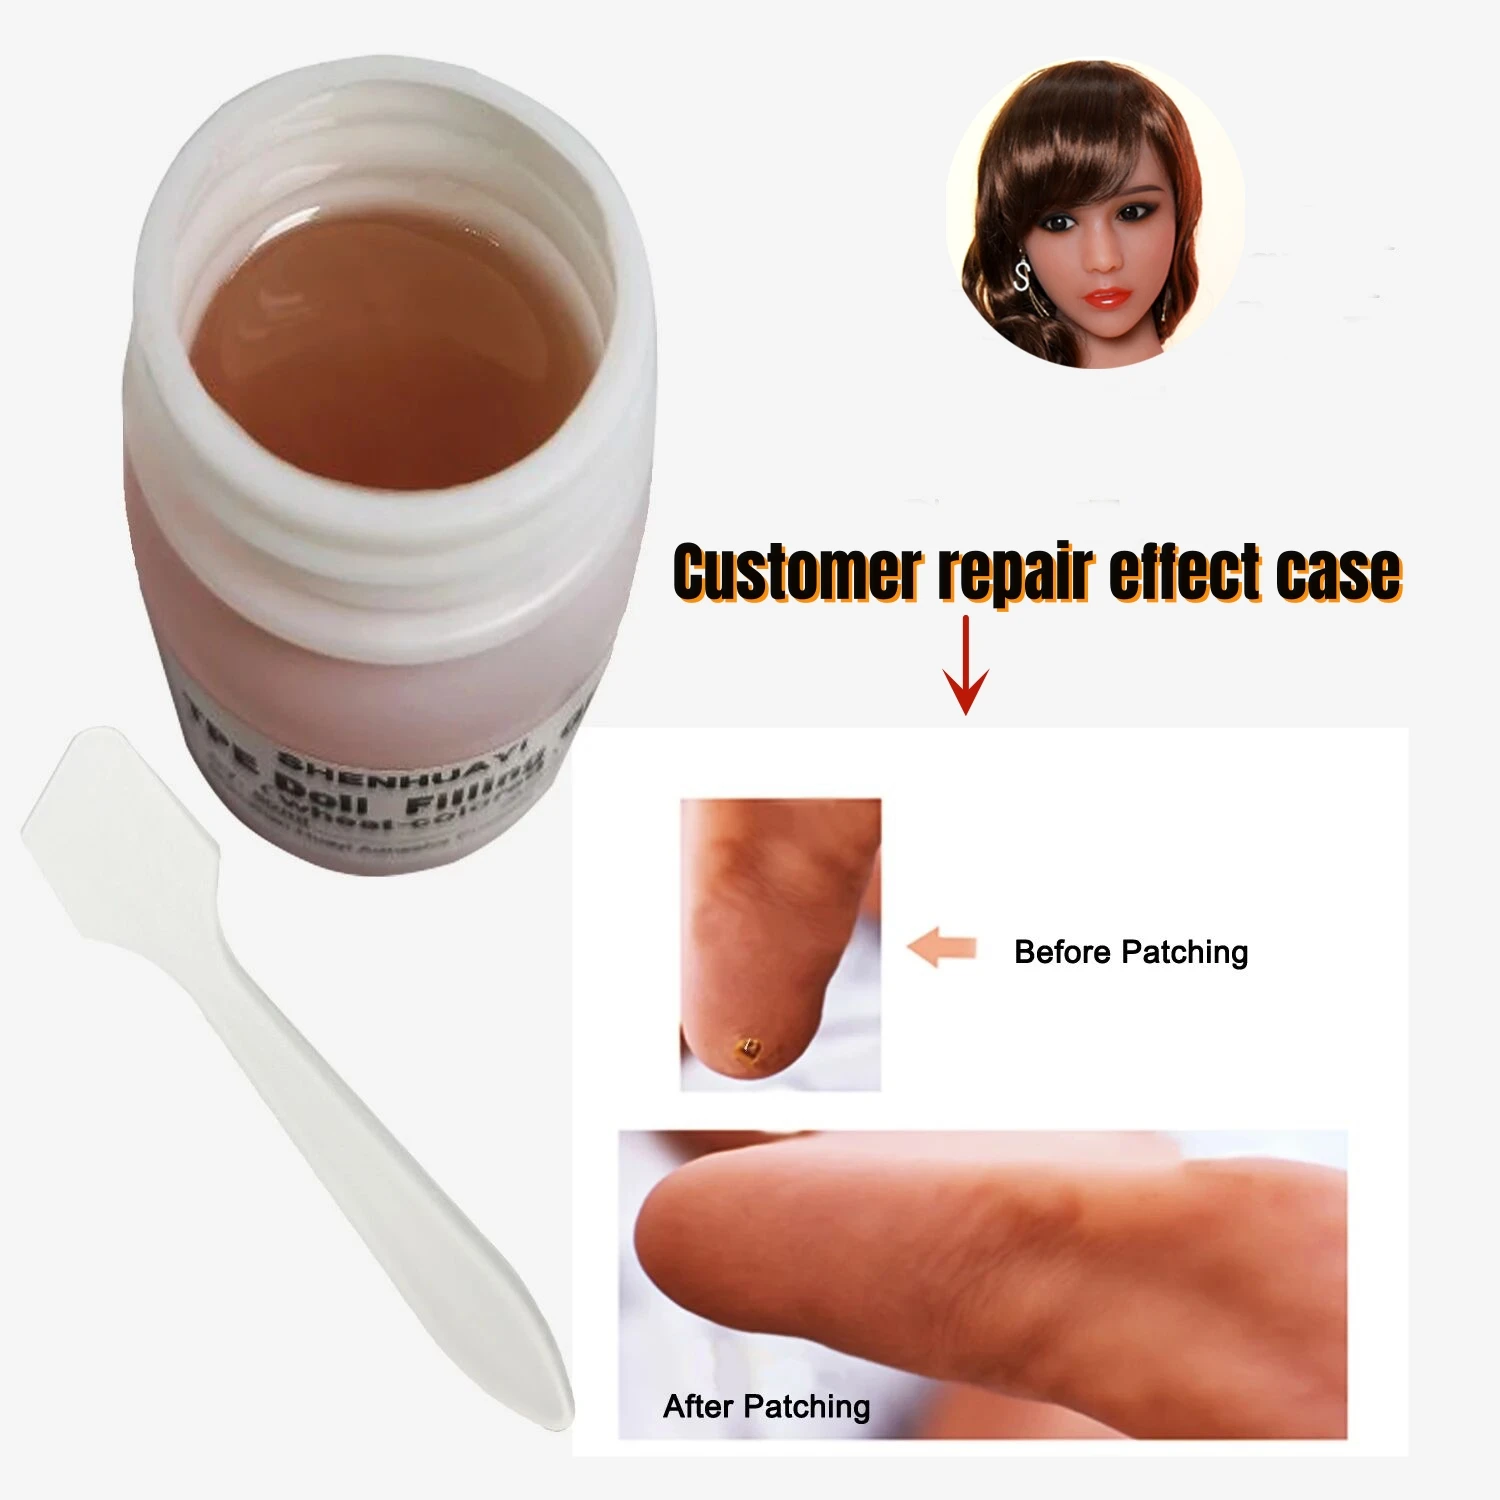
Fill the "pit" or "pit" of the doll's skin with glue (do not overflow the glue) to allow it to heal naturally;
Please note that you must follow the principle of a small number of times. The hole shall not be filled more than 0.4 cm at a time. After waiting for 3 hours, inject glue again (do not overflow the glue) to allow it to solidify naturally; And so on until the cavity is filled.
Tips:
When bonding, be careful not to drop glue onto undamaged areas to avoid material damage. It is recommended to use small areas or simulated operations first, and master skills before filling in.
Color: Natural skin tone
Description
Report Item / Suspicious Activity
Color: wheat brown
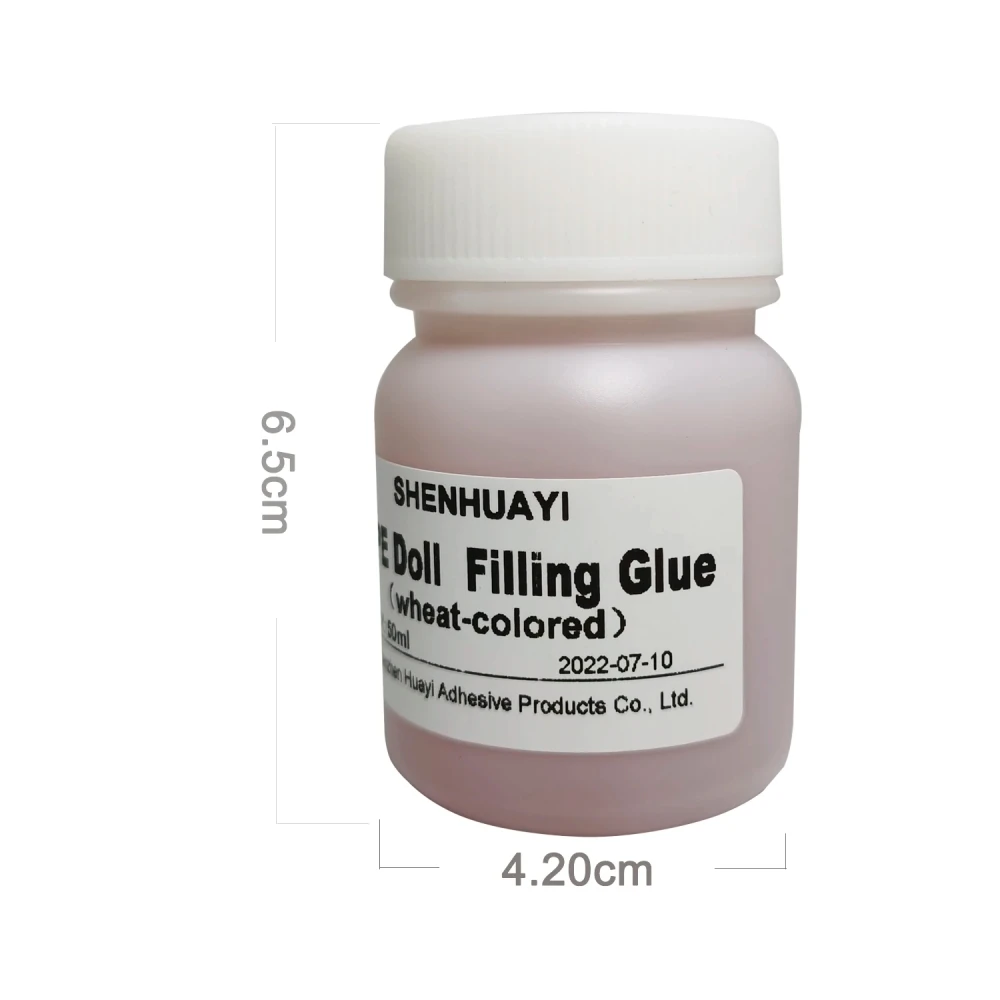
Packaging: 50ml/bottle, shelf life: 12 months
Reminder: This glue is only suitable for filling of TPE material, not for silicone material. Know your material before buying.
1. Please allow 1-2cm error due to manual measurement, please make sure you don't mind before ordering.
2. Due to the difference of different monitors, the picture may not reflect the actual color of the item. Color: Brown Packing: 30ml/bottle Shelf life: 12 months


How to fill holes and pits:
Fill the "pit" of the baby's skin with glue (do not spill the glue) and let it solidify naturally; wait for 3 hours, inject the glue (do not spill the glue), let the glue solidify naturally; and so on until the gap is filled.
hint:
Be careful not to drip glue onto undamaged places when gluing, so as not to damage the material. It is recommended to use a small area or simulation operation first, and then fill in after mastering the skills.
